Make a Paper Sparrow That Flies: 3 Simple Steps
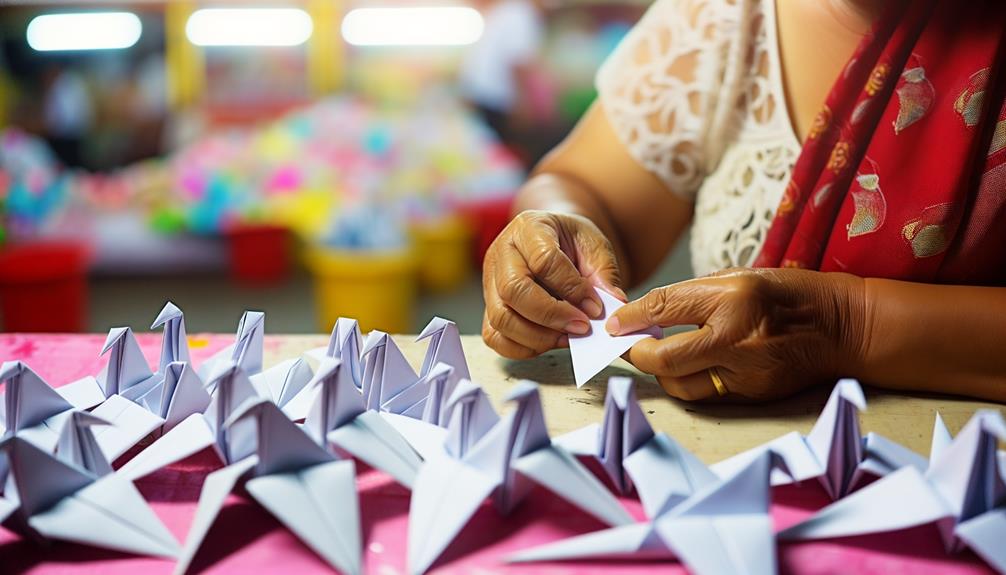
Creating a flying paper sparrow involves precision and careful folding. Begin with lightweight, flexible paper cut into a square.
Fold the paper diagonally to form an ‘X' crease pattern, reinforcing symmetry. Collapse inward along the creases to craft a sturdy base shape.
Shape the wings by pulling the top layers outward, ensuring they align symmetrically. Bend the wings slightly upward at the base to enhance aerodynamics.
Make final adjustments by fine-tuning the wing angles and tail alignment. Each fold and crease contributes to the sparrow's flight capabilities, ensuring it soars gracefully.
Discover the nuances of this intricate craft for best flight.
Key Takeaways
- Cut a square from lightweight, flexible, and durable paper for optimal flight properties.
- Create precise diagonal and horizontal creases to form an 'X' pattern and base folds.
- Pull top layers gently to form symmetrical wings, then crease firmly at the base.
- Bend wings upward delicately to enhance lift and adjust angles for balance.
- Fine-tune the tail and inspect body alignment to ensure a stable and straight flight.
Gather Your Materials
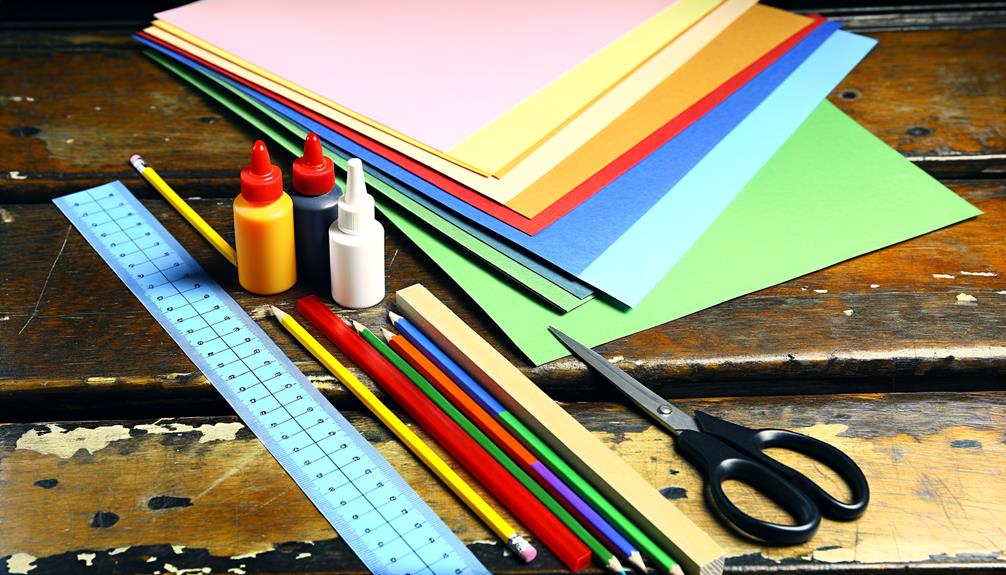
To create a paper sparrow that soars gracefully, you will need to gather the necessary materials, including lightweight paper, scissors, a ruler, and clear adhesive tape. Lightweight paper is essential as it guarantees the sparrow can catch air currents and glide smoothly.
Scissors are required for making precise cuts, which will define the bird's shape and aerodynamic properties. A ruler is vital for measuring dimensions accurately, ensuring symmetry and balance in your creation.
Clear adhesive tape will help secure folds and joints without adding unnecessary weight. By carefully selecting and preparing these materials, you lay the groundwork for a successful and satisfying paper craft experience, culminating in a sparrow that not only looks elegant but also performs its aerial feats admirably.
Start With a Square Paper
Begin by selecting a piece of lightweight paper and cutting it into a perfect square, ensuring each side measures precisely to maintain balance and symmetry in your paper sparrow. The accuracy of this step is vital as it lays the foundation for the subsequent folds, which will ultimately determine the flight capability of your creation. Opt for paper that is both flexible and durable, such as origami paper, to enhance the aerodynamic properties of the sparrow. Below is a table detailing the recommended paper sizes for various sparrow sizes, enhancing your understanding of proportional scaling.
| Sparrow Size | Paper Size (cm) | Paper Type |
|---|---|---|
| Small | 15 x 15 | Origami Paper |
| Medium | 20 x 20 | Lightweight Card |
| Large | 25 x 25 | Thin Craft Paper |
Precision in this initial step is crucial for achieving a successful flying paper sparrow.
Fold the Base Shape
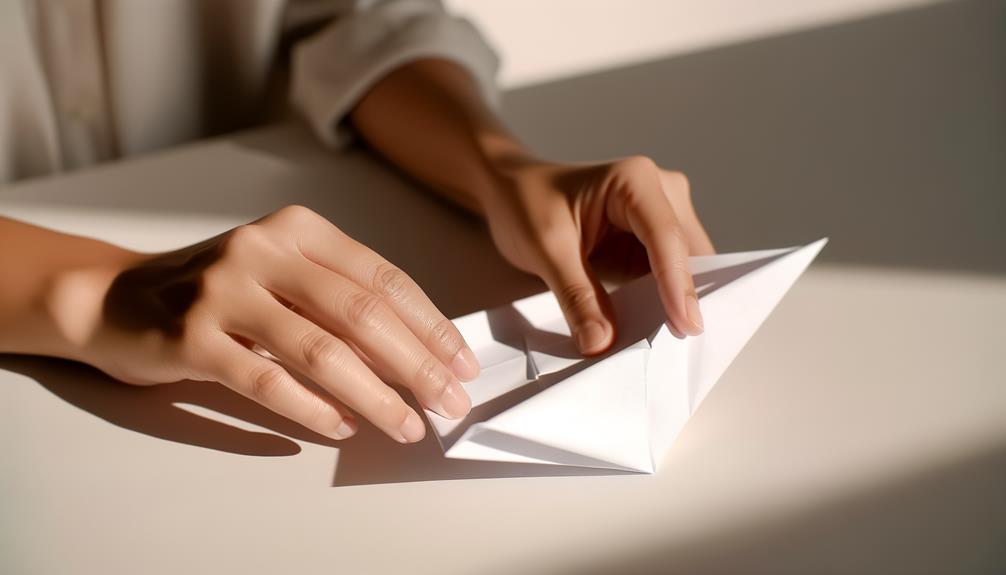
Carefully align the corners of your square paper to form a precise diagonal fold, making sure that the edges meet perfectly. This initial fold is important as it sets the foundation for the subsequent steps.
Open the paper and repeat the process with the opposite corners, creating an 'X' crease pattern. Flatten the paper once more, then fold it in half horizontally and vertically, each time sharpening the creases with your fingernail. These folds will act as essential reference lines.
Now, collapse the paper inward along the diagonal creases, bringing the corners together until a smaller square forms. This base shape is the cornerstone of your paper sparrow, requiring both accuracy and patience to make sure a well-balanced final model.
Form the Sparrow's Wings
With the base shape established, gently pull the top layers of the paper outward to start forming the sparrow's wings, making sure that each wing is symmetrical and well-aligned. This step is essential for achieving a balanced and aesthetic design.
Carefully crease the paper where the wings connect to the body to guarantee a crisp fold. Precision in this stage will enhance the sparrow's aerodynamic properties.
- Step 1: Locate the top layers of the paper and separate them gently to form the wings.
- Step 2: Align each wing symmetrically by adjusting the angles and making sure they mirror each other.
- Step 3: Crease firmly at the base of the wings to secure them in place, maintaining a smooth and stable connection to the sparrow's body.
Final Adjustments for Flight
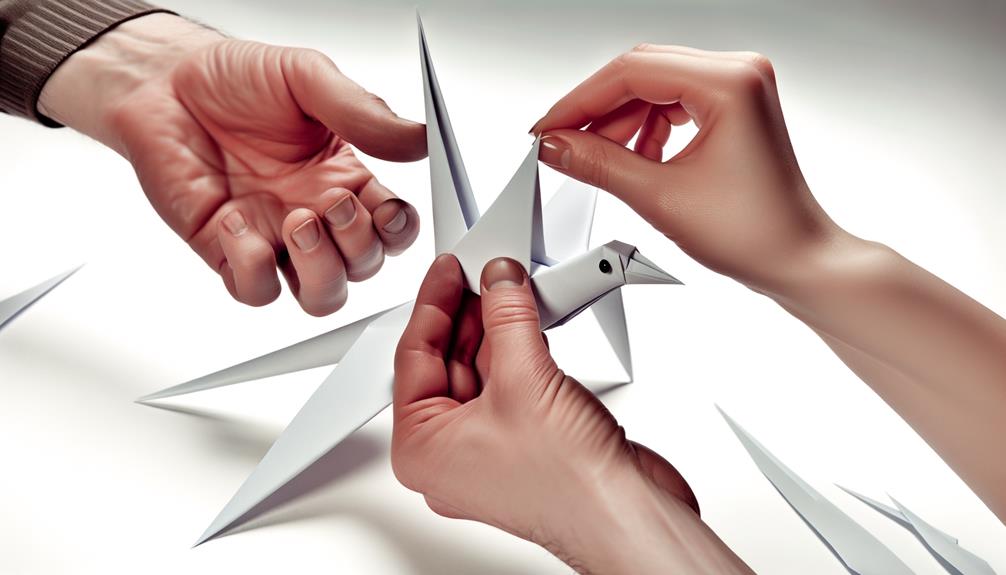
Guaranteeing the sparrow's finest flight capabilities demands careful adjustments to the wing angles and body alignment. Begin by delicately bending the wings upward at a slight angle to create lift. Assure both wings are symmetrical to maintain balance during flight.
Next, inspect the body alignment; the sparrow's body should be straight and centered to avoid veering off course. Fine-tune the tail by slightly bending it upwards to stabilize the flight path.
Test the sparrow by launching it gently; observe its flight and make incremental adjustments as necessary. A well-balanced sparrow will glide smoothly, demonstrating prime aerodynamics.
Conclusion
To sum up, the meticulous creation of a paper sparrow embodies both art and aerodynamics, revealing the elegance inherent in simplicity.
By following the precise steps—gathering materials, crafting the base shape, and adjusting the wings for flight—a remarkable transformation is achieved.
This delicate balance of folds and creases culminates in a lightweight marvel capable of soaring through the air, symbolizing the beauty of human ingenuity and the timeless charm of traditional paper crafts.