10 Steps to Skinning a House Sparrow – A Beginner’s Guide
Skinning a house sparrow requires specialized tools, such as precision scalpels, fine-tipped forceps, and dissecting scissors. Start by preparing a well-lit and sterilized workspace to maintain a contamination-free environment.
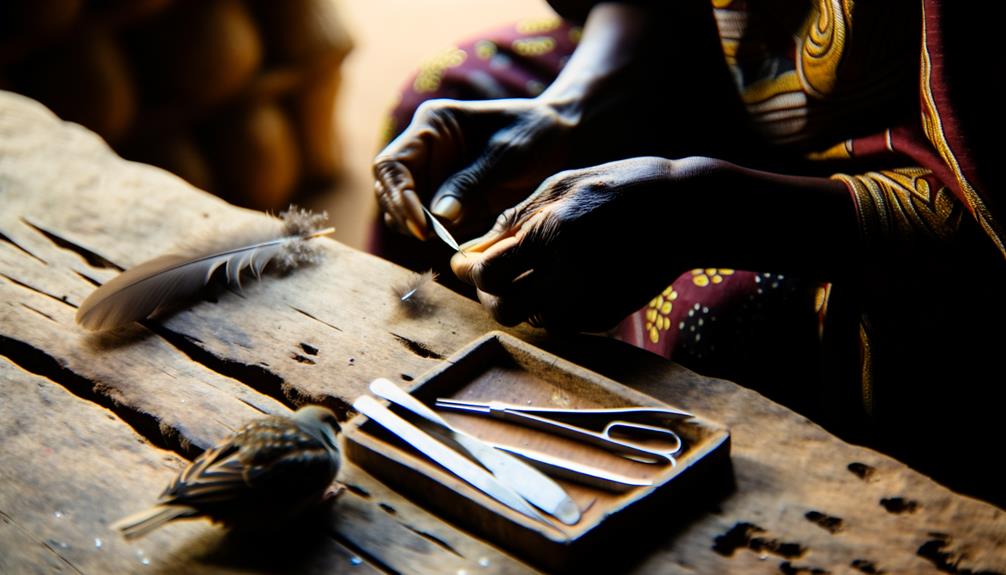
Position the sparrow on its back and gently secure its wings and legs. Make an initial incision along the ventral side with a sharp scalpel, applying gentle pressure to avoid muscle damage.
Carefully use forceps to separate the skin from underlying tissues, cutting connective fibers as needed. Apply preservation solutions like formalin to uphold specimen integrity.
For further nuanced techniques and detailed procedures, additional guidance awaits.
Key Takeaways
- Place the sparrow on its back, securing wings and legs to minimize movement during the skinning process.
- Make a precise initial incision along the ventral side using a sharp scalpel, avoiding muscle and organ damage.
- Gently lift the skin with forceps or fingers, cutting connective tissues symmetrically to separate the skin from the musculature.
- Apply preservative solution evenly to the inner dermal layer to maintain the skin's structural integrity and prevent bacterial growth.
- Use borax as a desiccant to sterilize the skin and inhibit decomposition, ensuring thorough coverage with a soft brush.
Gather Necessary Tools
To begin the process of skinning a house sparrow, it is important to gather the necessary tools, including precision scalpels, fine-tipped forceps, dissecting scissors, and appropriate preservation solutions. Precision scalpels facilitate meticulous incisions without damaging underlying structures. Fine-tipped forceps enable the delicate manipulation of tissues, guaranteeing minimal disruption. Dissecting scissors are vital for cutting through tougher connective tissues with accuracy.
Preservation solutions, such as formalin or ethanol, are required to maintain specimen integrity post-skinning. Each instrument must be sterilized to prevent contamination. The careful selection and preparation of these tools are crucial for achieving a successful outcome, providing clear insights into avian morphology and anatomy. Proper equipment guarantees the procedure is conducted with scientific rigor and precision.
Prepare the Work Area
A clean, well-organized work area is essential to maintain the accuracy and safety of the house sparrow skinning procedure. Begin by selecting a well-lit, ventilated space to minimize contamination and guarantee visibility.
The work surface should be sanitized and covered with disposable paper to facilitate easy cleanup. Organize tools and materials within arm's reach to streamline the process.
- Lighting: Guarantee the area is well-lit to improve visibility of delicate structures.
- Ventilation: Provide adequate airflow to mitigate odors and maintain a sterile environment.
- Sanitization: Clean and disinfect the workspace to prevent contamination.
- Tool Arrangement: Arrange tools systematically to enhance efficiency and reduce errors.
Position the Sparrow
Optimizing the sparrow is suitably aligned, place it on its back with the head oriented towards you to facilitate access to the ventral side. This position allows for best visibility and minimizes movement during the skinning process. Secure the sparrow by gently pinning the wings and legs with soft restraints or weights. This method reduces stress to the specimen and guarantees precision during subsequent procedures.
| Step | Description |
|---|---|
| 1 | Lay the sparrow on a clean surface |
| 2 | Position the head towards yourself |
| 3 | Ensure the ventral side is visible |
| 4 | Use soft restraints to secure wings |
| 5 | Minimize movement for accuracy |
Proper positioning is essential for maintaining anatomical integrity and preventing accidental damage to internal structures.
Make the Initial Incision
With the sparrow securely positioned, the initial incision should be made along the midline of the ventral side, starting from the base of the sternum and extending towards the cloaca. This precise incision allows for an effective separation of the skin from underlying structures.
To guarantee accuracy and minimize damage, follow these steps:
- Use a sharp scalpel: A clean, sharp blade is essential for making a precise cut.
- Apply gentle pressure: Assure the blade cuts through the skin without damaging the muscles beneath.
- Maintain a consistent angle: Keep the scalpel at a shallow angle to avoid puncturing internal organs.
- Observe anatomical landmarks: Note the position of the sternum and cloaca to guide your incision path.
These steps guarantee a clean and effective initial incision.
Separate Skin From Body
To begin separating the skin from the underlying body, gently insert the tips of fine forceps or your fingers beneath the initial cut and carefully elevate the skin. This technique minimizes harm to the delicate dermal layers.
Use a steady, gentle lifting motion to create a gap between the integument and the musculature. Pay close attention to connective tissue; carefully cut any adhering fibers using a scalpel or fine scissors. Maintain even tension to prevent ripping.
Progress methodically, working symmetrically on both sides of the cut to ensure consistent detachment. Observe anatomical landmarks such as the keel of the sternum and the shape of the pectoral muscles to guide your movements and avoid unintentional cuts into the underlying structures.
Remove the Skin
To effectively remove the skin from a House Sparrow, begin with an initial incision using a scalpel or fine-bladed knife along the ventral midline. This incision should be precise to avoid damage to underlying tissues.
Once the initial cut is established, carefully peel the skin away, using gentle, consistent pressure to make sure the integument separates cleanly from the musculature.
Initial Incision Technique
Position the house sparrow dorsally on a clean, flat surface to start the initial cut along the midline of the ventral side, extending from the base of the sternum to the cloaca.
To secure accuracy and minimize tissue damage, follow these steps:
- Stabilize the Specimen: Use non-dominant hand to gently secure the bird, guaranteeing minimal stress and movement.
- Select Appropriate Tool: Utilize a fine-point scalpel or sharp surgical scissors for precise cuts.
- Make the Incision: Begin at the sternum's base, applying gentle pressure to direct the blade steadily towards the cloaca.
- Expose Underlying Structures: Carefully separate the skin from muscle layers, ensuring not to harm internal organs.
This systematic approach guarantees a clean, precise cut, crucial for subsequent steps.
Peeling the Skin
Gently lift the edge of the initial incision, using fine forceps to separate the skin from the underlying muscle tissue. Employ a scalpel or dissecting scissors to carefully sever any connective tissue fibers that may resist separation. Progress methodically, ensuring minimal damage to both the skin and the underlying musculature.
Gradually peel the skin away, moving towards the extremities and maintaining a consistent tension to facilitate clean separation. Be attentive to delicate areas, such as the wings and legs, where skin adhesion may be more pronounced. In these regions, precise, controlled incisions may be required to maintain integrity.
Throughout the process, maintain a sterile environment to prevent contamination and preserve specimen quality for subsequent analysis.
Clean and Preserve Skin
After carefully removing the skin from the house sparrow, it is crucial to meticulously eliminate any remaining excess flesh to prevent decomposition.
Subsequently, an appropriate preserving agent, such as borax or a commercial bird skin preservative, should be uniformly applied to the inner surface of the skin.
This process guarantees the preservation of the specimen's structural integrity and prevents microbial decay.
Remove Excess Flesh
Carefully excise any remaining muscle tissue from the skin using fine-tipped forceps and surgical scissors, making sure not to puncture the delicate epidermal layer. Employ meticulous accuracy to maintain the integrity of the skin.
This process can be broken down into the following steps:
- Position the skin: Place the skin on a clean, flat surface to guarantee stability during the removal process.
- Identify muscle remnants: Locate small muscle fibers still attached to the skin, concentrating on areas around the limbs and torso.
- Use fine-tipped tools: Gently maneuver forceps to hold the skin taut while using surgical scissors to trim away excess tissue.
- Inspect and repeat: Regularly check for any remaining flesh, repeating the excision until the skin is free of muscle tissue.
Accuracy and patience are paramount.
Apply Preserving Agent
To guarantee the longevity and stability of the preserved skin, an appropriate preserving agent, such as borax or a specialized taxidermy preservative, must be meticulously applied to the inner surface. Begin by ensuring the skin is thoroughly cleaned, removing any residual organic material.
Next, evenly distribute the preservative agent across the inner dermal layer, paying particular attention to creases and junctions. The borax acts as a desiccant, inhibiting bacterial growth and preventing decomposition. This step not only sterilizes but also maintains the skin's structural integrity.
Employing a soft brush can facilitate even application, ensuring all areas are adequately treated. Allow the treated skin to rest, permitting the preservative to fully penetrate and stabilize the biological tissues.
Conclusion
The meticulous process of skinning a house sparrow requires surgical precision and unwavering attention to detail. Each step, from gathering the necessary tools to the final preservation of the skin, demands a mastery of technique akin to that of a seasoned artisan.
The delicate balance of separating the skin from the body without causing damage exemplifies the profound complexity inherent in this task. In sum, the endeavor is an intricate symphony of anatomical knowledge and refined dexterity, worthy of the highest respect.