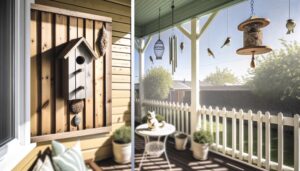
5 Easy Steps to Build Your Own Sparrow Nest Box
To build a sparrow nest box, you'll need untreated wood like cedar or pine, screws, and basic tools. Cut the wood into precise panels, maintaining a 15mm thickness for durability.
Assemble the box using wood glue and screws, aligning panels accurately. Pre-drill pilot holes to prevent wood from splitting.
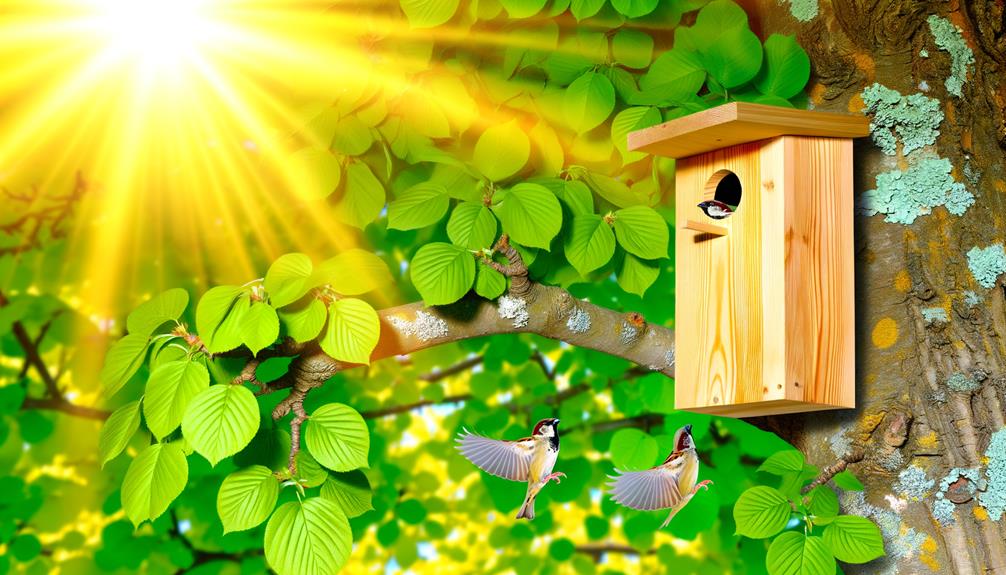
For the entrance, mark and drill a 1.5-inch diameter hole 6 inches from the top, then sand the edges. Mount the box 6-10 feet high in a shaded area, using sturdy screws and tilting it forward for water runoff.
Continue to learn specifics on creating an ideal sparrow habitat.
Key Takeaways
- Use untreated wood like cedar or pine to prevent harmful chemicals.
- Cut wood precisely, ensuring 15mm thickness for durability.
- Pre-drill pilot holes and use wood glue and clamps for sturdy assembly.
- Create a 1.5-inch entrance hole 6 inches from the top.
- Mount the box at 6 to 10 feet in partial shade, tilting it forward for water runoff.
Materials Needed
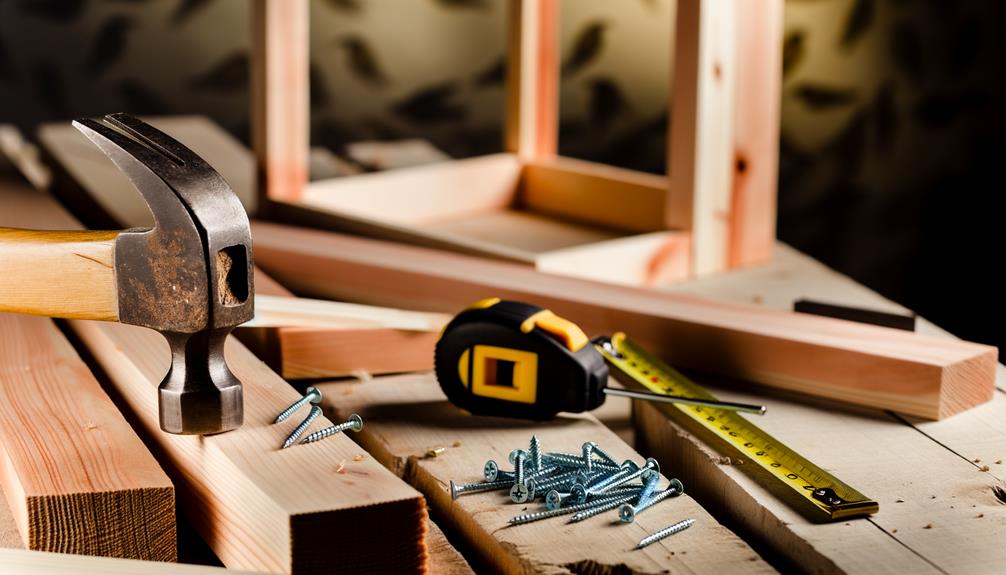
To construct a sparrow nest box, you'll need to gather specific materials that ensure durability and suitability for the birds' needs. Start with untreated wood, as it's safe and long-lasting. Opt for cedar or pine, which resist decay.
You'll need screws or galvanized nails for assembly; avoid toxic glues. Make sure you have a saw, measuring tape, and a drill with varying bit sizes. Include a small piece of sandpaper to smooth edges, preventing harm to sparrows.
Don't forget a weatherproof finish, like linseed oil, to protect the wood without harming the birds. Ventilation holes are essential, so plan for a few small ones. By choosing these materials thoughtfully, you'll create a safe, lasting habitat for sparrows.
Cutting the Wood
Before you begin cutting, make sure that your measurements are precise to create a well-fitted sparrow nest box. Double-check the dimensions for each part: the front, back, sides, base, and roof.
Use a pencil to mark your wood, ensuring straight lines by using a ruler or a carpenter's square. A circular saw or a jigsaw works best for cutting; keep your cuts smooth and accurate.
Pay attention to the thickness of the wood, typically 15mm, ensuring durability. Safety is paramount: wear safety goggles and gloves.
Assembling the Box
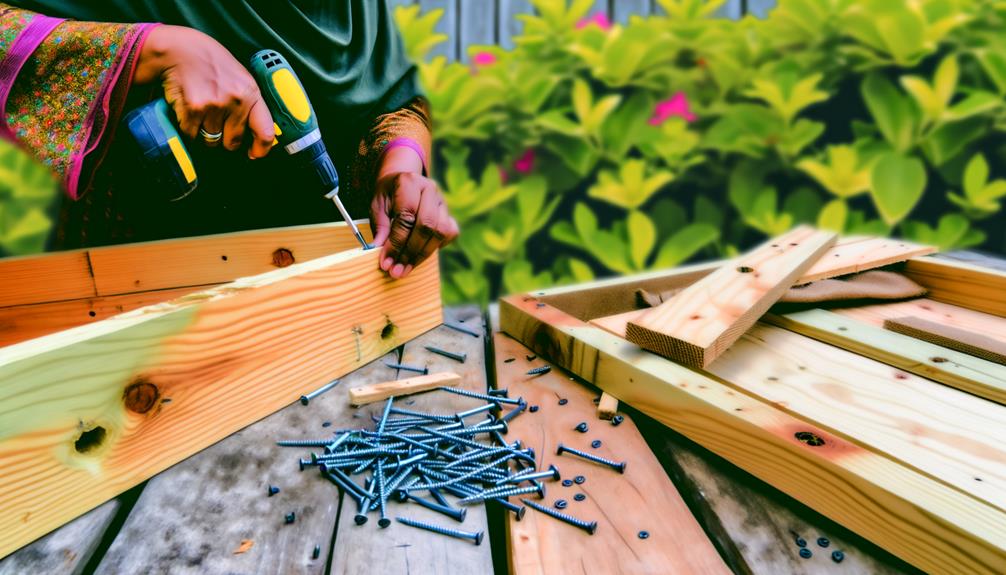
With all your pieces cut, start by aligning the front and back panels with the side panels, making sure the edges match up perfectly. Use a carpenter's square to verify right angles.
Secure the panels with wood glue, applying a thin, even layer for strong adhesion. Clamp the pieces together to maintain alignment.
Next, pre-drill pilot holes to avoid splitting the wood, spacing them evenly along the edges. Insert screws into the pilot holes, using a screwdriver to fasten the panels tightly. Confirm that the screws are flush with the surface to prevent injuries.
Adding Entrance Hole
Position the front panel on a flat surface and mark the spot for the entrance hole, making sure it's precisely 1.5 inches in diameter to accommodate sparrows. Measure 6 inches from the top edge to the center of the hole. This height offers optimal protection and accessibility for sparrows.
Use a drill with a 1.5-inch hole saw attachment for accuracy. Check the hole's edges are smooth by sanding them to prevent injury to the birds. Verify the measurements again before drilling, as precision is important.
This entrance size is specifically designed to deter larger predators while providing a welcoming entrance for sparrows. Your attention to detail in this step demonstrates your dedication to creating a safe, nurturing environment for these small birds.
Mounting the Nest Box
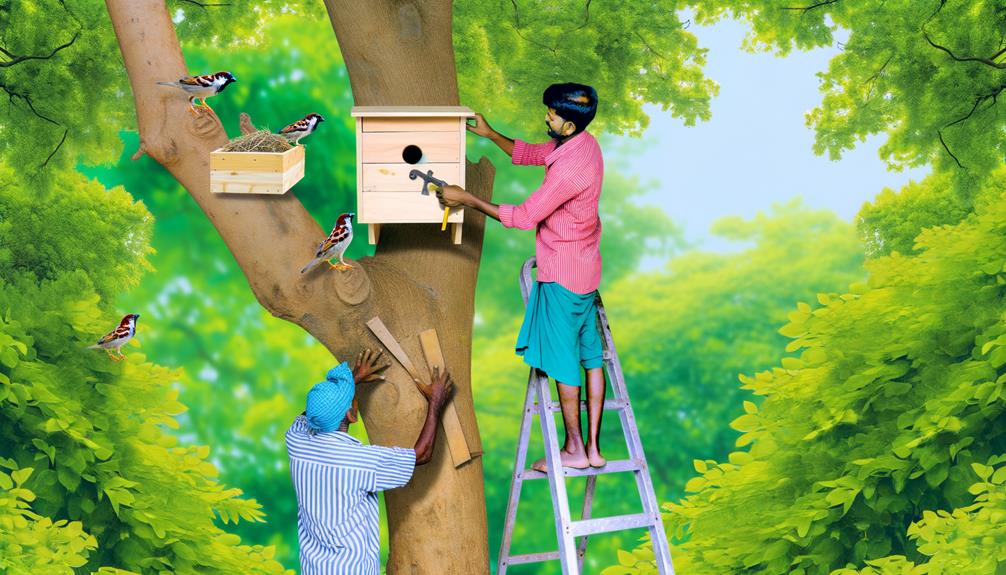
Guarantee the nest box is mounted at a height of 6 to 10 feet to provide optimal safety from ground predators and accessibility for sparrows.
Select a location that offers partial shade to prevent overheating and confirm the box faces away from prevailing winds to shield the nest from harsh weather.
Use sturdy materials like galvanized screws to secure the box firmly to a tree or pole. Confirm the mounting surface is stable and free from vibrations.
Additionally, tilt the box slightly forward to facilitate water runoff and decrease the risk of interior dampness.
Regularly inspect the mount for stability and wear, ensuring it remains a secure and inviting habitat for sparrows season after season.
Conclusion
You've built a sparrow nest box that's sturdy and welcoming, like a cozy cabin in the woods. By carefully choosing materials, cutting the wood with precision, and assembling the box with secure joints, you've created an ideal habitat for sparrows.
Adding the correct-sized entrance hole guarantees only sparrows can enter, and mounting the nest box in a safe, elevated spot protects it from predators.
Your attention to detail will unquestionably attract feathered friends, offering them a perfect nesting haven.

