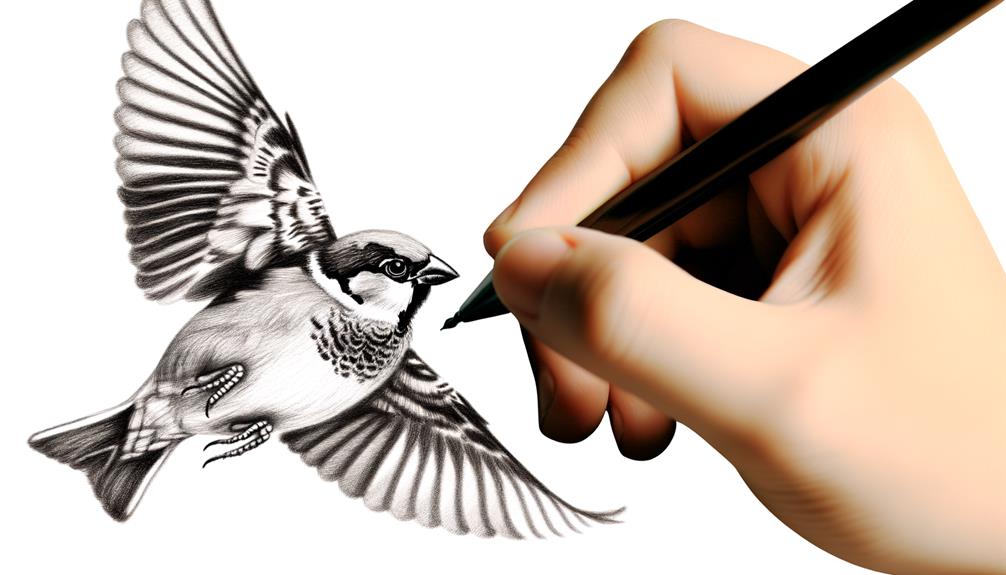
10 Simple Steps to Draw a Flying Sparrow
To draw a flying sparrow, start by gathering quality paper, a range of pencils, a good eraser, and reference images. Begin by lightly sketching basic shapes: a horizontal oval for the body and a smaller oval for the head, connected by a triangle for the tail and triangles for wings.
Refine the body with gentle curves to indicate muscle and tapering lines for the belly. Position the wings in a slightly upward curve, detailing primary and secondary feathers with swift strokes.
Focus on shading and feather direction to add depth and texture. For more detailed insights, consider exploring further.
Key Takeaways
- Lightly sketch basic shapes: a medium oval for the body, a smaller oval for the head, and triangles for wings and tail.
- Refine the body with gentle curves, creating a rounded chest and a streamlined belly.
- Draw wings in an upward curved position, outlining primary and secondary feathers with swift strokes.
- Focus on feather detailing, using varying pencil shades for depth and direction.
- Apply shading to contour the body and darken areas under overlapping feathers for added depth.
Gathering Your Materials
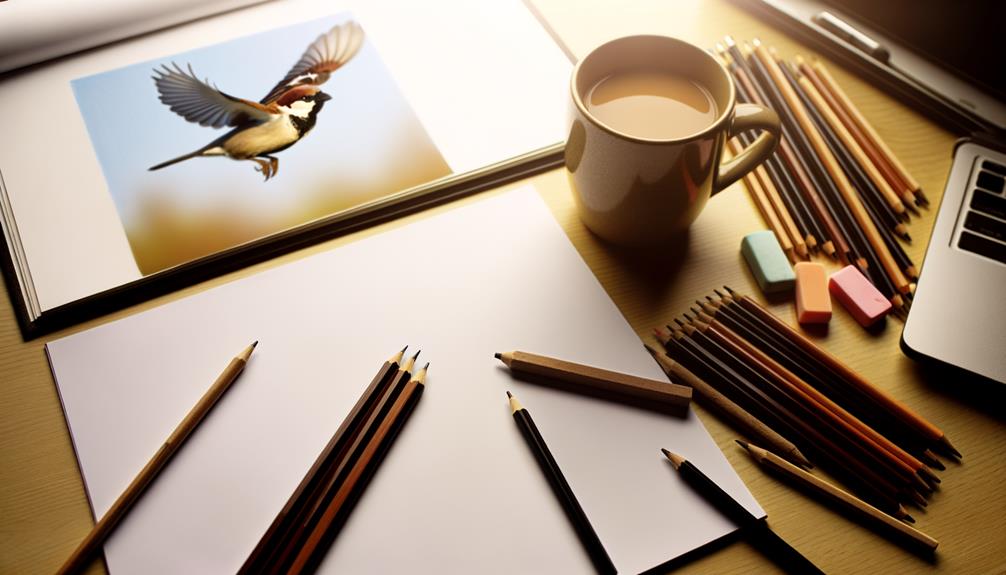
To begin your drawing of a flying sparrow, it is vital to gather all necessary materials, including quality paper, pencils, erasers, and reference images. Quality paper provides a durable surface, ensuring your artwork stands the test of time. Opt for a range of pencils, from hard to soft, to achieve various shades and textures. A good eraser is essential for refining details and correcting mistakes.
Reference images are invaluable, offering accurate visual information about the sparrow's anatomy and flight dynamics. Collecting these materials beforehand creates a structured environment, allowing you to focus entirely on the creative process. Proper preparation not only fosters confidence but also enhances the overall quality of your drawing, leading to more satisfying results.
Sketching Basic Shapes
Begin by lightly sketching the fundamental shapes that will form the structure of the sparrow, such as ovals for the body and head, and triangles for the wings and tail.
Start with a medium-sized oval for the body, positioning it horizontally to represent the sparrow in flight.
Then, draw a smaller oval above and slightly to the left of the body for the head.
Attach a triangle to each side of the body oval to outline the wings, ensuring they are angled upwards to convey motion.
Finally, add a small, narrow triangle at the rear for the tail.
Keep your lines light and fluid, as these shapes will serve as the foundation for refining your sparrow's form.
Drawing the Sparrow's Body
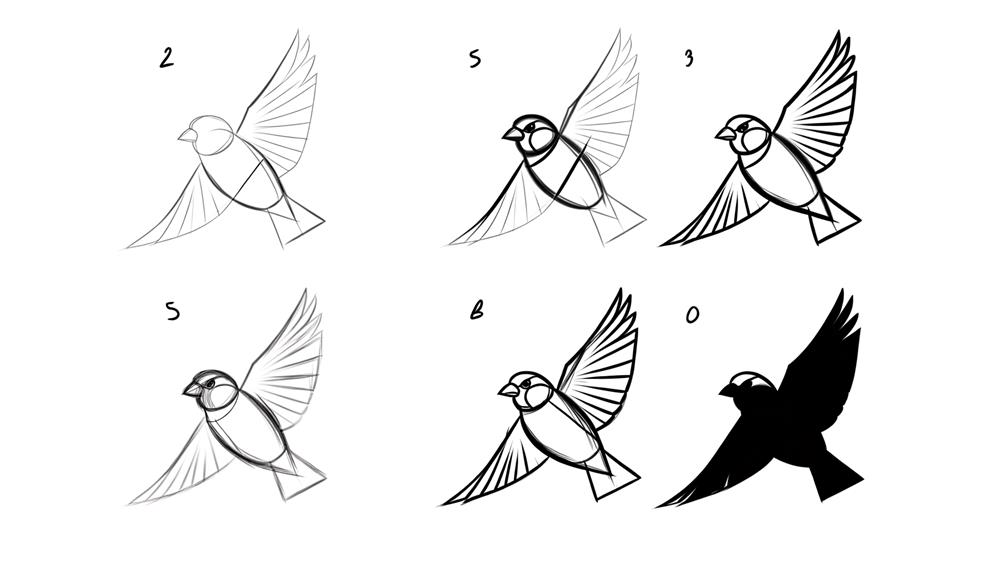
Now that you have the basic shapes sketched, carefully refine the oval representing the sparrow's body by adding gentle curves to suggest the bird's natural contours and musculature.
Pay close attention to the following details to enhance the realism:
- Chest: Shape the chest to be slightly rounded, indicating the sparrow's strong pectoral muscles.
- Belly: Draw a smooth, tapering line towards the tail to create a streamlined appearance.
- Back: Curve the back gently, maintaining a smooth shift from the head to the tail.
- Neck: Add a slight indentation where the neck joins the body, hinting at flexibility.
- Feathers: Lightly sketch feather patterns on the belly and back, capturing their texture.
These refinements will bring the sparrow's body to life, laying a solid foundation for further detailing.
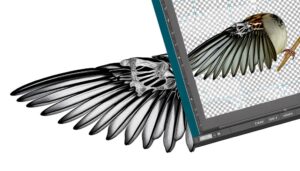
Adding Wings in Motion
How can you capture the dynamic motion of a sparrow's wings as it takes flight?
Start by drawing the wings in a slightly curved upward position to convey motion. Use swift, confident strokes to outline the primary feathers, ensuring they fan out naturally.
The secondary feathers should be drawn closer to the body, creating a layered effect. To depict movement, add slight blurs or lines along the edges of the feathers to suggest speed.
Study photographs of sparrows in flight to understand the wing structure and positioning. Pay attention to the joints and how they bend. This attention to anatomical accuracy will enhance the realism and dynamism of your drawing.
Practice repeatedly to refine your technique.
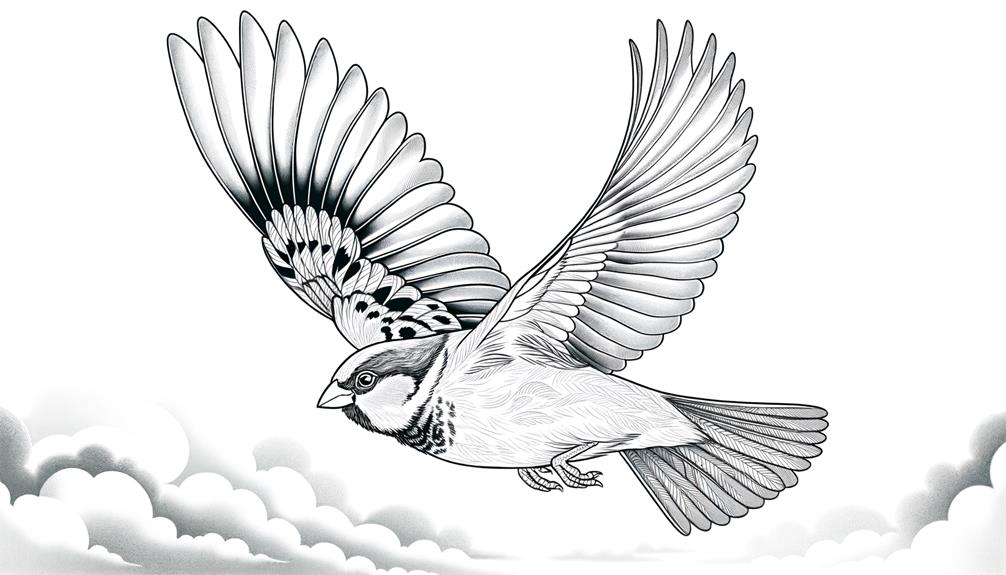
Detailing and Shading
To enhance the realism of your flying sparrow drawing, focus on detailing and shading to bring depth and texture to the image. Start by refining the feathers, giving special attention to their direction and layering. Use a range of pencils to establish varying shades and intensities.
Contour the body: Apply gentle shading to highlight the bird's rounded form.
Feather details: Sketch individual feathers with light, wispy strokes.
Wing shading: Darken the areas under overlapping feathers to suggest depth.
Eye highlight: Add a small, white dot to the eye to convey liveliness.
Tail texture: Use cross-hatching to create a realistic texture on the tail feathers.
These techniques, combined effectively, will create a dynamic and lifelike representation of a flying sparrow.
Conclusion
Mastering the art of drawing a flying sparrow involves a systematic approach: gathering materials, sketching basic shapes, drawing the body, adding wings in motion, and detailing with shading.
For instance, imagine an artist capturing the grace of a sparrow mid-flight, its wings arched high and feathers meticulously detailed, bringing the scene to life.
Such attention to structure and detail guarantees a lifelike representation, transforming a simple sketch into a vivid depiction of nature's elegance.