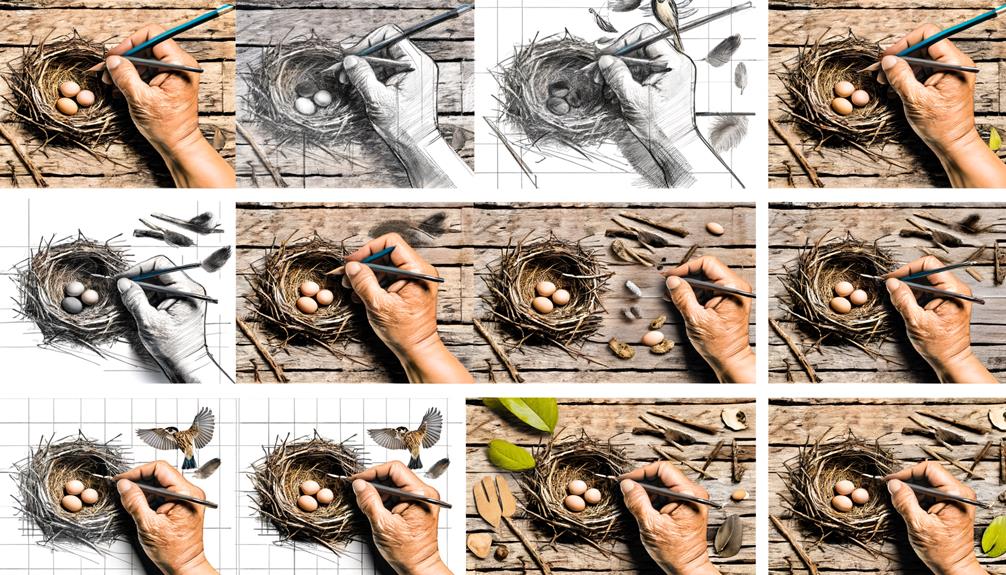
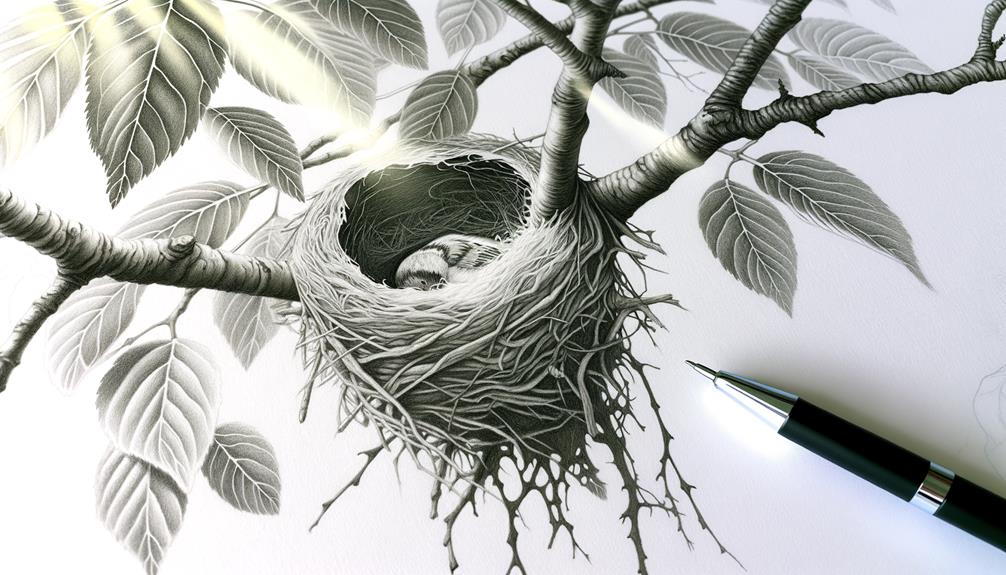
10 Easy Steps to Draw a Sparrow Nest
Begin by gathering your materials: graphite pencils, a sketch pad, and a good eraser. Start with basic shapes, sketching a rough oval for the nest.
Outline intersecting twigs and grasses, emphasizing uneven, organic edges. Gradually add slender twigs and sturdy branches, varying line thickness to create depth.
Inside, sketch soft grasses and feathers for a cozy interior. Begin adding sparrows with delicate outlines, capturing their serene presence.
Accentuate texture with varied strokes and shading, always mindful of light and shadow. Layer twigs for dimension and realism.
As you refine, you'll reveal the meticulous beauty of nature's craftsmanship.
Key Takeaways
- Start with an oval shape and outline uneven edges with intersecting lines.
- Add twigs and branches by varying line thicknesses for texture and depth.
- Draw soft grasses, fine twigs, and natural debris for the nest's interior.
- Use cross-hatching and stippling techniques to create texture and shading.
- Sketch delicate sparrows with detailed feathers and subtle highlights.
Gather Your Materials
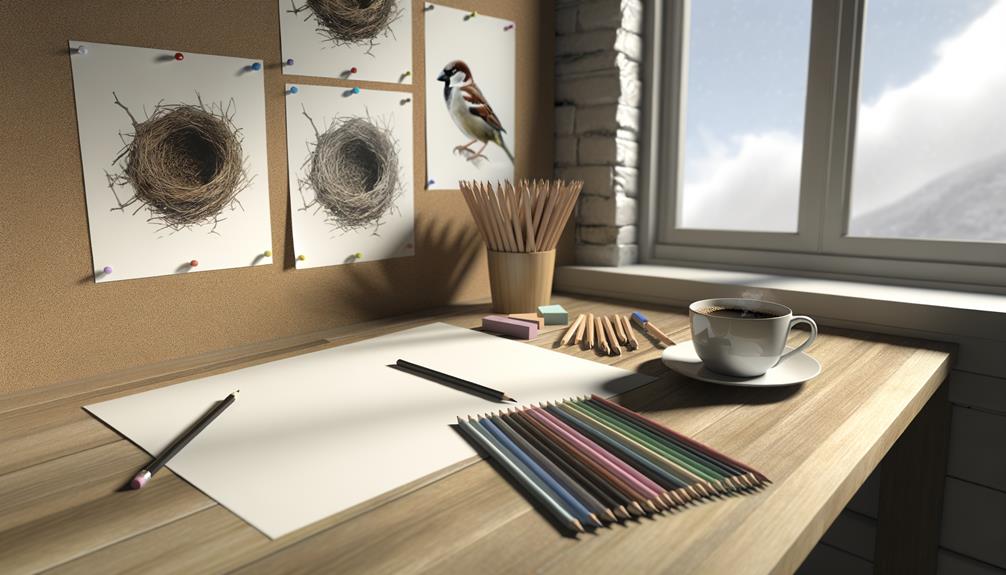
Before you begin your artistic journey, gather your materials to make sure you have everything you need at hand.
You'll want a set of graphite pencils, ranging from hard to soft, to capture the intricate details of the nest.
A sturdy sketch pad with smooth paper will serve as your canvas. Make sure you have a good quality eraser for refining your lines and a sharpener to keep your pencils in top shape.
Additionally, grab some colored pencils or watercolors if you plan to add a touch of life to your drawing.
Having these tools ready allows you to focus entirely on creating a beautiful, detailed sparrow nest that can inspire and bring joy to others.
Start With Basic Shapes
Begin by sketching simple circles that will form the foundation of your sparrow nest.
Carefully outline the nest structure, imagining the way twigs intertwine to create a secure home.
Gradually add twig details, allowing each line to suggest the natural, chaotic beauty of the nest.
Sketch Simple Circles
When sketching a sparrow nest, start by drawing simple circles to form the foundational shapes that will guide your detailed work. Begin with a large circle to outline the general size of the nest. This will be your main guide.
Then, add smaller circles both inside and around this larger circle to indicate the clustered twigs and leaves. These circles don't need to be perfect; their irregularity will add a natural look to your drawing.
Pay attention to the balance and spacing, ensuring the composition feels organic and inviting. By focusing on these basic shapes first, you'll set the stage for a more intricate and lifelike nest, ultimately helping others appreciate the beauty in even the simplest structures.
Outline Nest Structure
To outline the nest structure, start by using the simple circles you sketched earlier to shape the tangled, organic form of the nest's outer boundary. Begin to connect these circles with gentle, curving lines to mimic the chaotic yet purposeful weaving of twigs and grass.
Picture how each element interlocks, supporting and cradling the delicate sparrow eggs within. Your lines should flow naturally, overlapping and intertwining, evoking a sense of the nest's cozy complexity.
Add Twig Details
Starting with basic shapes, sketch elongated ovals and lines to represent the twigs, capturing their natural, uneven textures and varying lengths. Let your pencil glide, mimicking the organic flow of each twig.
Notice how some twigs are thicker, while others are slender and delicate. Vary your pressure to create depth and authenticity.
When adding details, imagine the twigs intertwining, forming a supportive, intricate network. Your aim is to give life to each twig, ensuring it contributes to the nest's overall structure.
Think of how the sparrows meticulously gather these elements, crafting their home with care and precision. By focusing on these details, you're not just drawing twigs; you're honoring the sparrow's dedication and artistry in nest-building.
Outline the Nest Structure
Now that you've sketched the basic shapes, it's time to give the nest its character.
Start by outlining the rough, circular structure with gentle, curved lines, capturing the essence of twigs and leaves intertwined.
Pay attention to adding intricate details, like the occasional stray twig, to bring your sparrow nest to life.
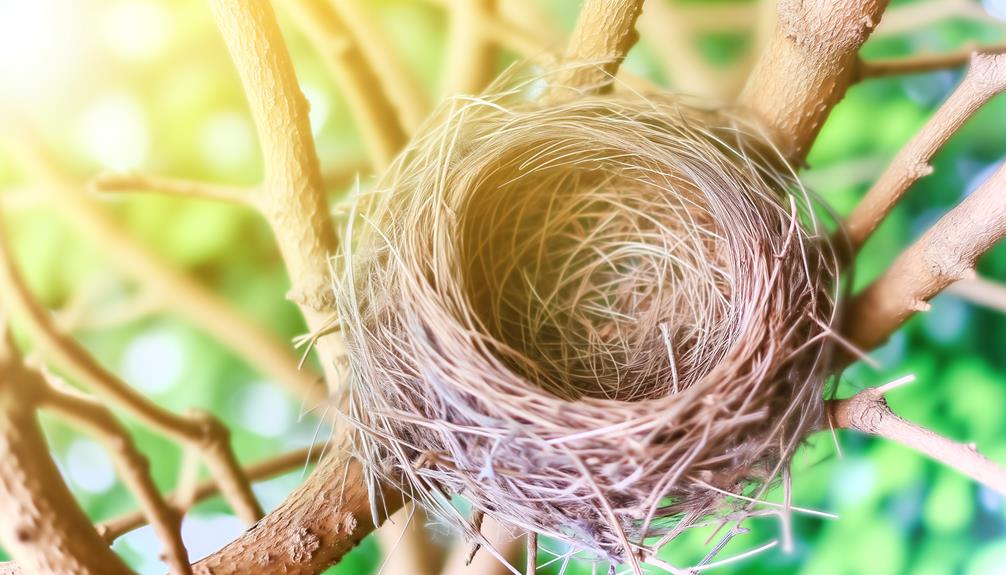
Basic Nest Shape
Begin by sketching an oval shape, which will serve as the foundation of your sparrow nest, capturing its rustic and woven essence. Confirm the oval isn't perfect—sparrow nests are naturally irregular.
Imagine the cozy, protective structure it creates for the little birds. Lightly draw the oval with gentle, curved lines, letting your pencil flow organically. This provides a sense of movement and life to your sketch.
Notice the subtle dips and rises in the nest's boundary, reflecting the twigs and grass interwoven by the sparrows. Keep your strokes soft and varied, as this will help you layer details later.
Adding Nest Details
To bring your sparrow nest to life, carefully trace over your initial oval, emphasizing the uneven edges with a series of short, intersecting lines to mimic the texture of twigs and grasses. Focus on the natural irregularity to create a realistic and inviting nest.
Layer Twigs and Grasses:
Add overlapping lines to replicate the random layering of materials.
Vary Line Thickness:
Use different pressures to create depth and detail.
Create Gaps:
Leave small spaces to simulate the airy, woven structure of a real nest.
Highlight Shadows:
Darken areas where twigs overlap to add dimension.
Add Twigs and Branches
Carefully intertwine slender twigs and sturdy branches, capturing the natural, chaotic elegance of a sparrow's nest.
Observe how each twig bends and overlaps, forming an intricate latticework. Choose a variety of line thicknesses to depict the diversity in the materials a sparrow might gather.
Start with the thicker branches, laying them down as the foundation. Then, weave in the finer twigs, allowing them to twist and turn organically.
Notice how some twigs protrude, creating a sense of disorder, yet every piece has a purpose. Keep your strokes loose but purposeful, mimicking the bird's meticulous yet instinctive craftsmanship.
Your aim is to create a structure that feels both fragile and resilient, just like the nests sparrows build for their young.
Sketch the Nest's Interior
Inside the nest, capture the delicate arrangement of soft grasses, down feathers, and other fine materials that provide warmth and comfort to the sparrow's eggs.
Focus on the tender intricacies of the interior.
To achieve this:
- Soft Grasses: Draw thin, overlapping lines to represent the interwoven grasses forming the nest's base.
- Down Feathers: Sketch small, fluffy feather shapes, lightly shading to show their softness and lightness.
- Fine Twigs: Add a few slender twigs, evenly scattered, to give structure without overwhelming the softness.
- Natural Debris: Include tiny bits of moss or leaves, adding realism and a nurturing touch.
Observe the gentle, nurturing environment these elements create, ensuring each detail serves the sparrow's comfort and safety.
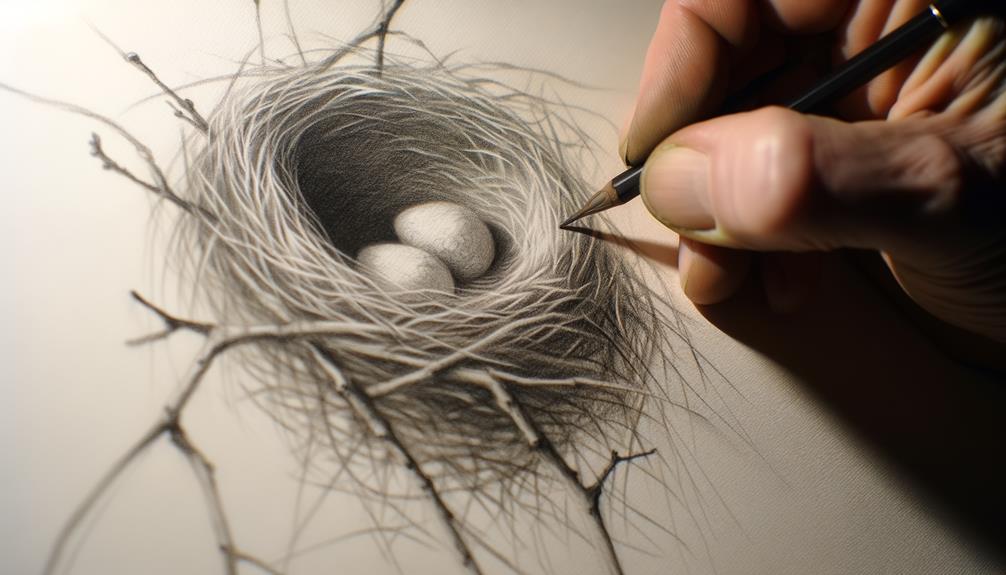
Create Texture and Depth
Now that you've captured the tender intricacies of the nest's interior, focus on adding texture and depth to enhance the realism and three-dimensional quality of your drawing.
Begin by varying your pencil pressure to create a range of line thicknesses, emulating the natural tangle of twigs and leaves. Use cross-hatching and stippling techniques to suggest the rough, uneven surface of the nest.
Pay attention to light and shadow—shade the underside of twigs and deepen areas where the materials overlap. Incorporate subtle, curved strokes to mimic the organic feel of woven fibers.
Draw Sparrows in the Nest
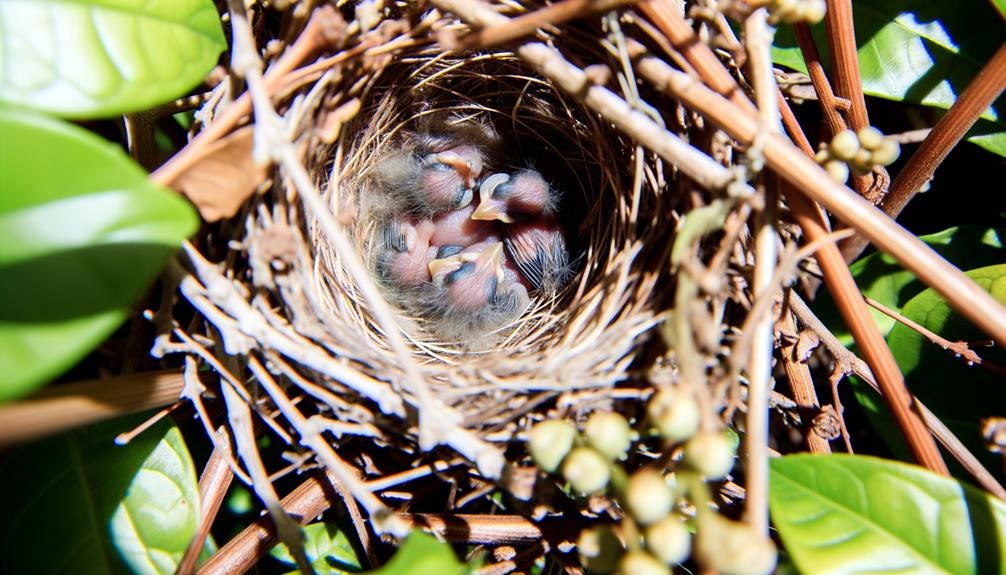
Now, imagine the tiny sparrows nestled within the twigs. Start by sketching their delicate outlines, capturing the gentle curves of their forms.
Then, breathe life into them with intricate feather details, ensuring each stroke reflects their soft plumage.
Sketch Sparrow Outlines
With a gentle hand, start sketching the delicate outlines of the sparrows nestled within their cozy home. Focus on capturing their essence, portraying them as serene yet lively beings.
Here's a step-by-step guide:
- Heads and Beaks: Lightly draw small, rounded heads with tiny, pointed beaks. Make sure to position them close together to emphasize their snug environment.
- Bodies and Wings: Sketch oval-shaped bodies, ensuring they appear soft and downy. Indicate the wings tucked gently against their sides.
- Eyes: Place small, expressive eyes on each sparrow, adding a touch of life and curiosity.
- Feet: Add petite feet peeking out from underneath, gripping onto the nest subtly.
Your sparrows should now look like they belong in their nurturing nest.
Add Feather Details
Adding feather details brings your sparrows to life, giving them texture and personality. Start with the head, using short, delicate strokes for the tiny feathers around the eyes and beak. Notice how these feathers create expression and charm.
For the body, vary your strokes—some longer, some shorter—to mimic the natural layering of feathers. Pay attention to the direction they grow; it's pivotal for realism. The wing feathers should be more defined, with slightly curved lines to show their structure.
Don't forget the tail; it's a focal point with its fan-like spread. As you add these details, think about how each feather serves to protect and warm the sparrow, bringing your drawing full of care to life.
Add Details and Refinements
Enhance the realism of your sparrow nest by meticulously sketching the intricate twigs and leaves that form its cozy structure. Observe the natural, haphazard arrangement and recreate it with thoughtful detail. Focus on these key elements:
- Twigs: Vary their thickness and direction to mimic nature's randomness.
- Leaves: Scatter a few small, delicate leaves among the twigs for authenticity.
- Nest Lining: Add subtle, intertwined grasses and feathers inside the nest.
- Texture: Use short, quick strokes to give the impression of rough bark and fibrous material.
Each detail you add should enhance the nest's inviting, protective aura. By paying attention to these aspects, you'll create a drawing that feels alive and serves as a beautiful tribute to nature's artistry.
Shade and Highlight
To bring further depth and dimension to your sparrow nest, start shading the twigs and leaves where shadows naturally fall. Observe how light interacts with the nest—darker tones will appear where twigs overlap or beneath dense clusters of leaves. Use soft, gentle strokes to create these shadows, gradually building up intensity. Don't rush; your patience will serve the artwork well.
Next, add highlights where light would strike the top edges of the twigs and leaves. A fine-tipped white pencil or eraser can lift areas to achieve this effect. Imagine the sun filtering through, kissing the nest with gentle light.
Review and Finalize
Step back and take a moment to review your work, carefully observing the interplay of shadows and highlights that bring your sparrow nest to life. Make certain to:
- Check for Consistency: Verify that the twigs and straw are uniformly detailed.
- Enhance Depth: Deepen shadows where elements overlap for a more realistic effect.
- Refine Highlights: Add subtle highlights to areas that catch light, enhancing texture.
- Balance Composition: Look at the overall balance, making adjustments to keep the nest visually appealing.
Conclusion
You've now crafted a sparrow nest that feels as cozy and intricate as a woven tapestry. Your attention to detail, from the delicate twigs to the lively sparrows, brings your drawing to life.
Just like a painter's brushstrokes create a masterpiece, your pencil has captured a moment of nature's beauty.
Step back, admire your work, and feel the satisfaction of transforming simple materials into a detailed, artistic portrayal of a sparrow's home.