5 Steps to Get Rid of Sparrows Nesting in Your Roof
To get rid of sparrows nesting in your roof, first identify active nests by noting increased bird activity and distinctive chirping calls. Inspect your roof for structural damage, focusing on leaks and water issues.
Install deterrents like spike strips or netting—spike strips reduce perchability by 90% while netting offers complete exclusion. When removing nests, use gloves and a diluted bleach solution for cleaning.
Seal entry points with hardware cloth or silicone caulk to prevent re-entry. Regularly inspect and maintain your roof by sealing gaps and clearing debris.
For a thorough approach, there's more you can explore.
Key Takeaways
- Install bird deterrents like spike strips or netting to prevent sparrow nesting.
- Seal entry points using hardware cloth or silicone caulk to block access.
- Remove existing nests with caution, adhering to local wildlife regulations.
- Conduct regular roof maintenance to identify and seal potential nesting sites.
- Clean nesting areas with a diluted bleach solution to eliminate parasites.
Identify Sparrow Infestation
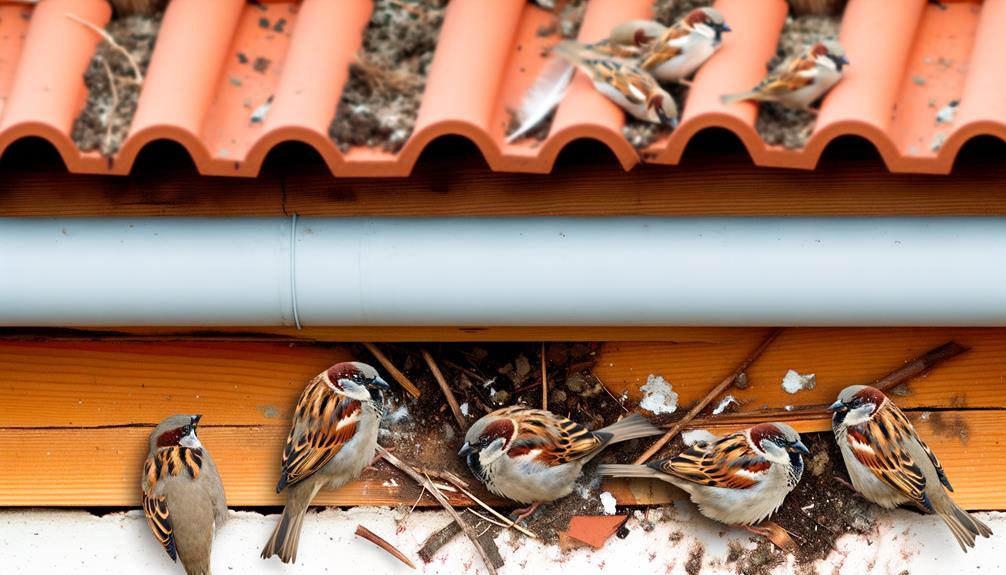
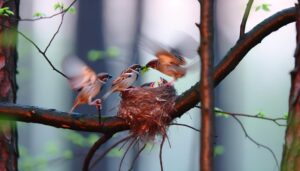
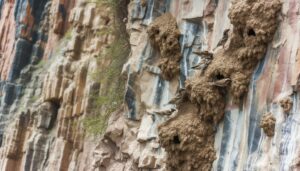
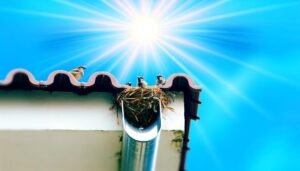
To identify a sparrow infestation in your roof, look for small, cup-shaped nests constructed from grass, feathers, and twigs, typically located in eaves, vents, or gutters. House sparrows (Passer domesticus) often build these nests in close proximity to human habitation.
You might notice increased bird activity, particularly during early morning and late afternoon. Male sparrows are vocal, producing a distinctive chirping call. Observation of droppings and feathers near potential nesting sites is another indicator.
Sparrows may also clog gutters with nesting materials, leading to water damage. Regular monitoring during the breeding season, which spans from early spring to late summer, can help you detect infestations early, ensuring timely intervention to serve and protect your home's structural integrity.
Assess Roof Damage
You should start by identifying the specific nesting spots of house sparrows (Passer domesticus) to determine areas of potential damage.
Next, check for leaks or water damage as sparrows often nest near roof vents and eaves, which can lead to moisture infiltration.
This process will help you quantify the extent of the structural impact and prioritize repairs.
Identify Nesting Spots
Start by examining potential nesting spots, such as eaves and soffits, for signs of house sparrow activity, including droppings, feathers, and nesting material. House sparrows (Passer domesticus) prefer sheltered locations with easy access. Look for accumulations of nesting materials like grasses, twigs, and paper fragments.
Quantify the extent of these signs to assess the infestation level. Document the GPS coordinates of each nesting site for precise follow-up. Note the number of nests and their proximity to entry points. Use a flashlight to inspect dark areas and a ladder for high spots.
Check for Leaks
After identifying the nesting spots, examine the roof for leaks and evaluate any damage caused by house sparrows, focusing on areas around nests and entry points. Pay attention to water marks, mold growth, and compromised insulation, as these can indicate moisture infiltration.
House sparrows often create nests in crevices and eaves, potentially displacing shingles or tiles. Utilize a moisture meter to assess the extent of water damage and infrared thermography to uncover hidden leaks.
Record findings with photographs and measurements to strategize effective repairs. Addressing these issues promptly not only prevents structural deterioration but also guarantees a safer environment for occupants.
Your thorough examination and precise interventions will help protect the roof and serve the residents effectively.
Install Bird Deterrents
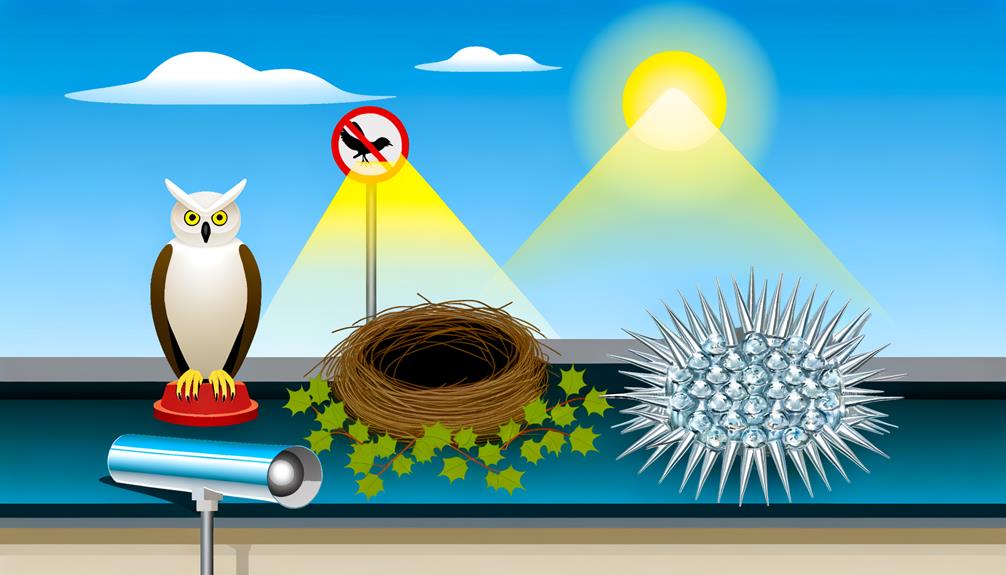
To effectively deter sparrows from nesting in your roof, consider installing bird deterrents such as spike strips, netting, or ultrasonic devices. Studies show that House Sparrows (Passer domesticus) are less likely to nest in areas with physical barriers.
Spike strips can reduce perchability by 90%, while netting, when properly installed, offers a 100% exclusion rate. Ultrasonic devices, emitting frequencies above 20 kHz, disrupt sparrow communication and nesting behaviors.
Guarantee the netting is UV-stabilized to withstand weather conditions and placed tightly over potential entry points. Ultrasonic devices should be installed in areas with clear line-of-sight for peak effectiveness.
Remove Existing Nests
Before removing existing nests, make certain you're familiar with local wildlife regulations to avoid penalties and protect House Sparrows (Passer domesticus) during their breeding season.
First, identify active nests by observing frequent sparrow activity or hearing chicks chirping. If nests are active, delay removal until fledglings have vacated to prevent disrupting the reproductive cycle.
Carefully dismantle the nest using gloves to avoid disease transmission. Dispose of nest materials in sealed plastic bags to prevent re-infestation.
Clean the area with a diluted bleach solution—one part bleach to nine parts water—to eliminate parasites and pathogens.
Document the number of nests removed and monitor the site for any new nesting attempts. This data-driven approach guarantees humane and effective nest removal.
Seal Entry Points
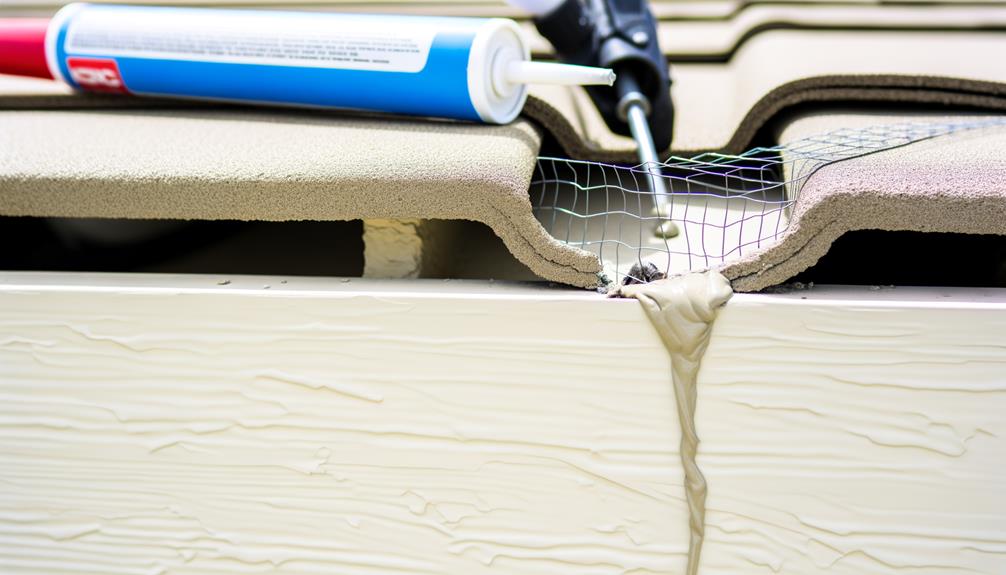
To effectively prevent house sparrows (Passer domesticus) from nesting, first identify all potential nesting locations in your roof structure, using observational data.
Use materials like hardware cloth or silicone caulk, which have proven efficacy in sealing small gaps. Proper installation is essential to achieve a thorough barrier, as incomplete sealing can make your efforts ineffective.
Identify Nesting Locations
Identifying nesting sites involves a careful inspection of your roof's eaves, vents, and gaps where House Sparrows commonly enter. Start by examining areas showing signs of nesting activity, such as droppings, feathers, and nesting materials.
House Sparrows typically prefer small, enclosed spaces, so pay attention to any openings larger than 1.3 cm (0.5 inches). Utilize binoculars for a detailed view of high or hard-to-reach spots. Document each potential entry point with photos or notes.
Data shows that sealing gaps effectively deters 80% of sparrow re-entry attempts. By meticulously identifying these locations, you're one step closer to humanely managing sparrow populations and preserving the structural integrity of clients' properties.
Make sure every detail is accounted for to provide the best possible service.
Choose Effective Materials
After documenting all potential entry points, you'll need to choose effective materials to seal these gaps and prevent House Sparrows from re-entering.
Opt for materials like ¼-inch hardware cloth, which has been shown to effectively block sparrow-sized gaps. Additionally, silicone caulking can be used to seal smaller crevices, as it's weather-resistant and durable.
Data indicates that sparrows can exploit gaps as small as ¾ inch, so make sure all materials cover these dimensions. For larger openings, consider using galvanized steel mesh, which offers both robustness and longevity.
Ensure Proper Installation
Make sure you've properly sealed all entry points by meticulously applying your chosen materials to each documented gap. House sparrows (Passer domesticus) are persistent, exploiting even the smallest openings.
To effectively deter them, focus on:
- Inspecting eaves and soffits: Look for gaps larger than 0.5 inches.
- Using stainless steel mesh: It's durable and sparrows can't peck through it.
- Applying silicone caulk: Seal any small crevices around vents and chimneys.
- Installing bird netting: Cover larger areas to prevent access.
Scientific studies show that well-sealed entry points drastically reduce nesting attempts.
Regular Roof Maintenance
Routine roof maintenance is important for preventing house sparrows (Passer domesticus) from establishing nests in your roof's structure. Conduct biannual inspections to identify potential entry points, such as gaps, damaged shingles, or loose tiles.
Data indicates that sparrows prefer nesting sites with openings of 1-1.5 inches. Seal these gaps using high-quality caulking or metal mesh.
Clear debris like leaves and twigs that can attract sparrows. Confirm gutters are unclogged and properly installed to prevent water damage that could create nesting cavities.
Replace any worn or damaged materials promptly. By performing these maintenance tasks, you'll effectively deter sparrows, ensuring a safer and cleaner environment for your home and its occupants.
Conclusion
By identifying sparrow infestations, evaluating roof damage, installing bird deterrents, removing existing nests, sealing entry points, and maintaining your roof regularly, you can effectively manage and prevent sparrow nesting issues.
Utilize species-specific deterrents, monitor for signs of activity, and confirm all entry points are sealed. Consistent maintenance is key; without it, sparrows will return, nests will reappear, and damage will worsen.
Take proactive steps now to safeguard your roof and home from these persistent avian intruders.