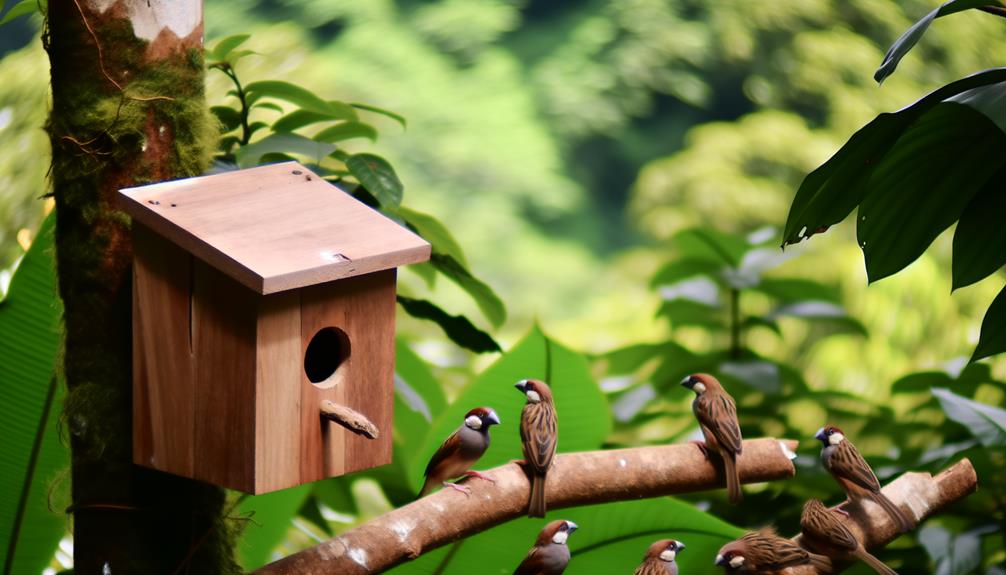
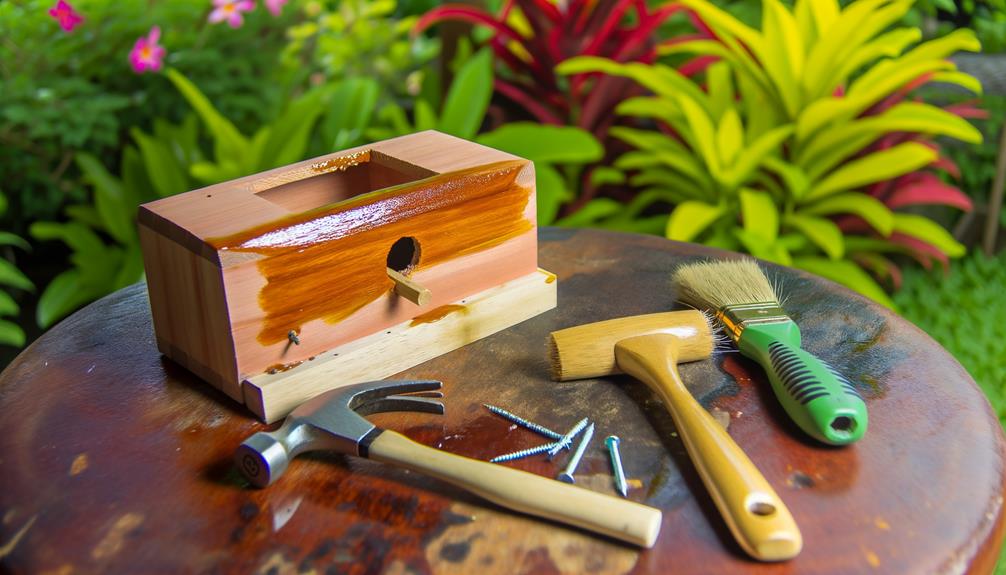
5 Simple Steps to Make a Java Sparrows Nest Box
To make a Java sparrows nest box, use untreated, kiln-dried pine wood and stainless steel screws. Measure and cut panels, then align and secure them.
Drill pilot holes to avoid splitting and attach the bottom panel flush. Add 1/4" ventilation holes near the top, spaced evenly.
Use a slightly overhanging cedar roof, lined with a waterproof membrane if possible. Place 1/2" to 3/4" dowels as perches 2 inches below the entry hole.
Finish with non-toxic paint or natural materials. Choose a location away from rain and drafts, providing a clear flight path.
Up next, learn to attract Java sparrows effectively.
Key Takeaways
- Use untreated, kiln-dried pine wood and non-toxic, water-based sealants for safe construction.
- Ensure ventilation holes are 1/4 inch in diameter and spaced evenly near the top for air exchange.
- Position wooden perches about 2 inches below the entry hole for easy access.
- Place the nest box in a stable, sheltered location with a clear flight path.
- Provide natural nesting materials and nearby food sources to attract Java Sparrows.
Choosing Materials
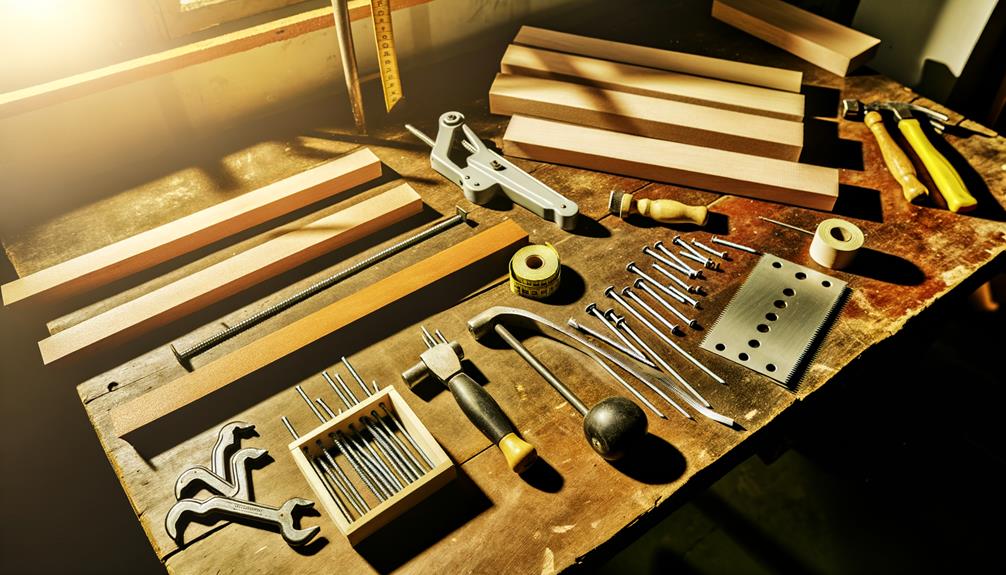
Selecting the appropriate materials for your Java sparrow nest box guarantees durability and a safe environment for the birds. Start with untreated, kiln-dried pine wood. It doesn't contain harmful chemicals and can withstand varying weather conditions.
Avoid using pressure-treated wood due to its toxic preservatives. Choose stainless steel screws and nails to prevent rust, which could harm the birds.
For insulation, use natural materials like coconut fiber or dried grass. Make sure your wood pieces are smooth to avoid splinters that could injure the sparrows.
Opt for non-toxic, water-based wood sealants to protect the box from moisture without endangering the birds. Each material choice reflects your dedication to creating a secure, long-lasting home for these delicate creatures.
Measuring and Cutting
To verify precision in your nest box construction, start by measuring and marking the dimensions of each part on your chosen pine wood. Use a tape measure and a carpenter's pencil to mark the length, width, and height of the front, back, sides, bottom, and roof panels.
Verify each mark is clear and visible. Employ a square to check that your lines are perpendicular, maintaining accuracy. After marking, use a handsaw or a circular saw to cut the wood along the marked lines. Focus on smooth, straight cuts to guarantee the pieces fit together seamlessly.
Double-check your measurements before cutting to avoid errors. This meticulous approach ensures each component aligns perfectly in the assembly phase, facilitating a sturdy and functional nest box.
Assembling the Box
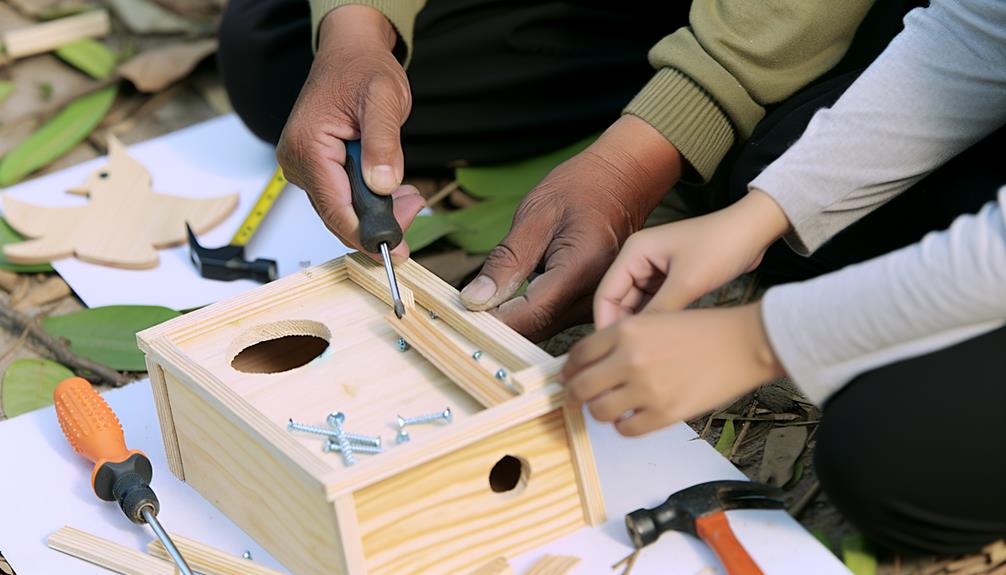
Begin assembling the box by first securing the front and back panels to the side panels using wood screws and a power drill. Align the edges precisely to guarantee the box is square. Hold the panels firmly together, then drill pilot holes to prevent the wood from splitting. Insert wood screws into the pilot holes and tighten them securely.
Next, attach the bottom panel by aligning it flush with the edges of the side, front, and back panels. Drill pilot holes and insert screws along the perimeter.
Creating Ventilation
To maximize airflow in your Java sparrow nest box, you need to focus on proper ventilation placement, size, and spacing.
Position ventilation holes near the top of the box to facilitate heat escape, and guarantee each hole is approximately 1/4 inch in diameter.
Space the holes evenly to maintain a consistent air exchange without compromising the structural integrity of the box.
Proper Ventilation Placement
Correct airflow positioning is crucial to ensure the Java sparrow nest box maintains ideal air circulation, preventing moisture buildup and promoting the health of the birds. You should position ventilation holes near the top and bottom of the nest box. This positioning encourages convection currents that facilitate air exchange.
| Ventilation Positioning | Purpose |
|---|---|
| Near Top | Allows hot air to escape |
| Near Bottom | Permits cool air to enter |
| Side Walls | Enhances cross-ventilation |
Drill holes with a diameter of about 1/4 inch to achieve optimal air circulation without compromising the nest box's structural integrity. Maintain a balanced number of holes on each side to prevent drafts. Properly spaced and sized ventilation will keep your Java sparrows comfortable and thriving.
Size and Spacing
Maintaining the correct size and spacing of ventilation holes is pivotal for sustaining ideal airflow within the nest box. You should drill multiple holes, each with a diameter of 5-6 millimeters, spaced evenly around the upper perimeter of the box. This arrangement guarantees that warm air can escape while preventing drafts that could harm the Java sparrows.
Place the holes approximately 1-2 centimeters apart to balance ventilation efficiency and structural integrity. Avoid situating holes too close to the nesting area to uphold a stable microclimate. Use a fine-grit sandpaper to smooth the edges of each hole, preventing injuries.
Adding a Roof
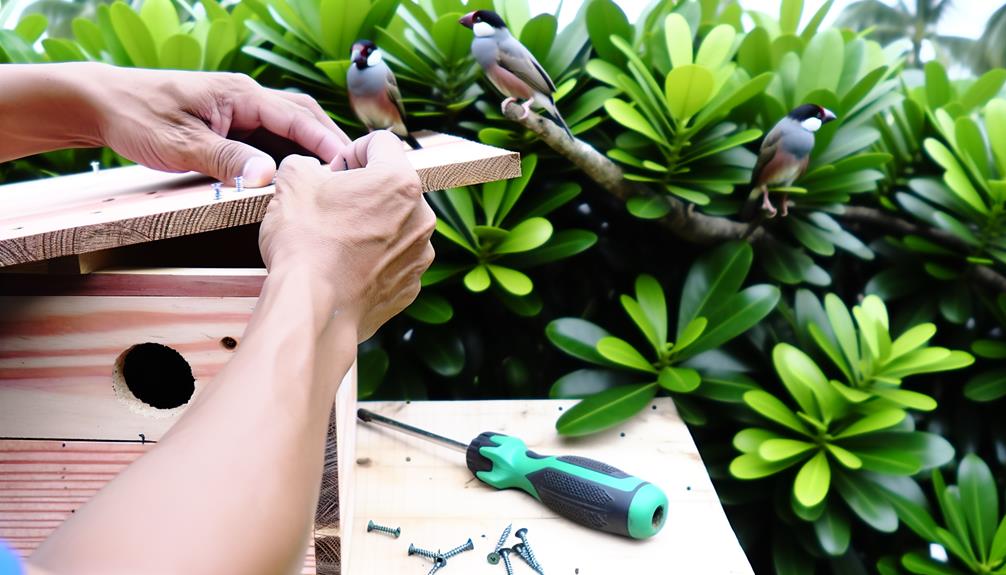
When adding a roof to your Java sparrow nest box, make certain the roof overhangs the sides slightly to provide sufficient protection from the elements.
Cut a piece of weather-resistant wood, such as cedar, to match the dimensions of the box with at least a 1-inch overhang on all sides. Secure the roof using galvanized screws to prevent rusting. Pre-drill holes to avoid splitting the wood.
For additional insulation, consider lining the inner roof with a thin layer of waterproof membrane. This setup guarantees the nest remains dry, reducing the risk of mold growth.
Make certain the roof is removable or hinged for easy cleaning and inspection, ensuring the birds' habitat remains healthy and conducive to breeding.
Installing Perches
Once the roof is securely in place, it's time to install perches to provide resting spots and vantage points for your Java sparrows.
Select dowels with a diameter of 1/2 to 3/4 inches to guarantee comfort. Measure and cut the dowels to fit across the width of the nest box. Position each perch about 2 inches below the entry hole and confirm they're horizontally level.
Drill pilot holes on the interior sides of the box where the perches will be mounted. Insert screws through the pilot holes and into the ends of the dowels, securing them firmly. Double-check the stability to prevent wobbling.
Properly installed perches will enhance the sparrows' comfort and social interactions.
Finishing Touches
To complete your Java sparrows nest box, add decorative elements like non-toxic paint or natural materials to blend with the environment.
Guarantee proper ventilation by drilling small holes near the top of the box to maintain airflow and regulate temperature.
These finishing touches will enhance the nest box's functionality and aesthetic appeal.
Adding Decorative Elements
Adding decorative elements to your Java Sparrow nest box enhances its aesthetic appeal while making sure it blends seamlessly with your garden or indoor aviary. Start by painting the exterior with non-toxic, water-based paint to protect the wood and add color. Choose shades that mimic natural surroundings for a harmonious look.
Attach small, untreated wooden perches near the entrance to facilitate easy access for the sparrows. You can also add artificial foliage or natural vines around the box to simulate a more natural environment. Make certain any added materials are bird-safe and securely fastened.
Ensuring Proper Ventilation
Proper aeration in your Java Sparrow nest box guarantees a healthy environment for the birds by preventing moisture buildup and promoting sufficient airflow.
To achieve best ventilation, drill four 1/4-inch holes at the top of the side panels, evenly spaced. These holes facilitate cross-ventilation, which is essential for dissipating excess heat and humidity.
Additionally, drill two 1/8-inch holes at the bottom of the box to allow drainage of any accumulated moisture. Ensure the holes are smooth to prevent injury to the birds.
Regularly inspect and clean these ventilation points to maintain their effectiveness.
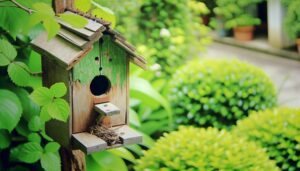
Placing the Nest Box
When placing the nest box, make certain it's positioned at least 2 meters above ground level to protect the Java Sparrows from potential predators.
Choose a location that offers partial shade to regulate temperature fluctuations; direct sunlight can cause overheating.
Attach the nest box securely to a stable structure, such as a tree trunk or a wall, using weather-resistant screws or brackets.
Confirm the entrance hole faces away from prevailing winds to minimize exposure to rain and drafts.
Regularly inspect the mounting to verify it remains stable and safe.
Provide a clear flight path for the sparrows, free from obstructions like dense foliage or other structures.
Your attention to these details will improve the sparrows' nesting success.
Conclusion
You've now crafted a Java sparrow nest box, ensuring a safe haven for these charming birds.
Did you know that a well-constructed nest box can increase fledgling survival rates by up to 50%? By following these detailed instructions, you've helped boost their chances.
Remember, placing the nest box in a quiet, elevated spot will further enhance its effectiveness.
Enjoy observing the Java sparrows thrive in their new home!