10 Steps to Make an Artificial Sparrow Nest
To make an artificial sparrow nest, start by selecting untreated cedar or pine wood for durability. Cut precise measurements and assemble the nest box using galvanized screws for strength.
Add ventilation holes near the top to secure proper airflow, reducing heat and humidity. Secure natural fibers or untreated straw inside for comfort.
Mount the nest box 6-10 feet above ground in a sheltered area, away from prevailing winds and near food sources. Install a predator guard made of galvanized steel or hardware cloth below the box.
Regularly monitor and maintain the nest to secure a thriving habitat for your sparrows. Continue for detailed steps…
Key Takeaways
- Use untreated cedar or pine wood for durability and safety.
- Ensure the box has proper ventilation holes near the top for airflow.
- Secure the panels with wood glue and galvanized nails for stability.
- Install a predator guard 6 inches below the nest box entrance.
- Mount the nest box 6-10 feet above the ground in a sheltered location.
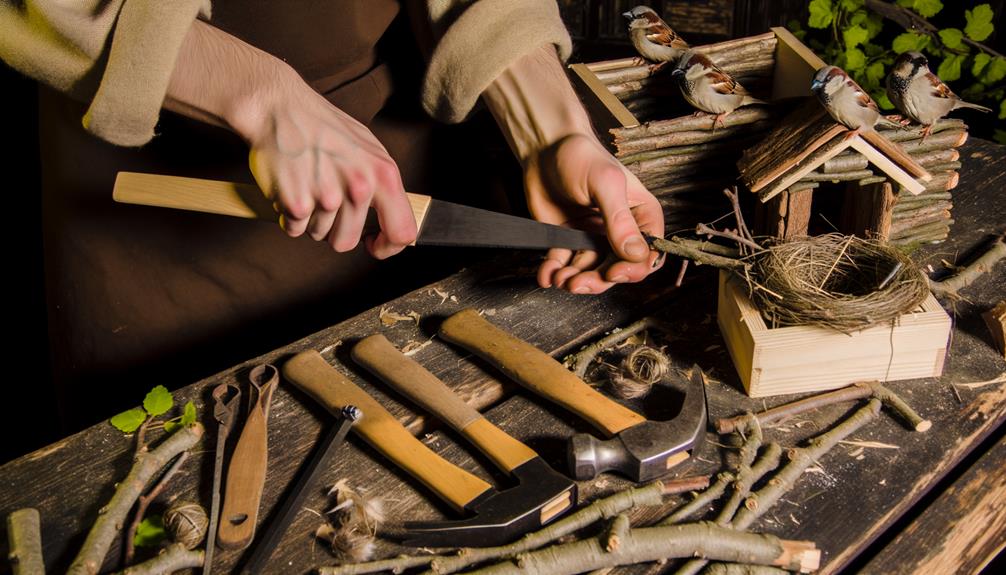
Gathering Materials
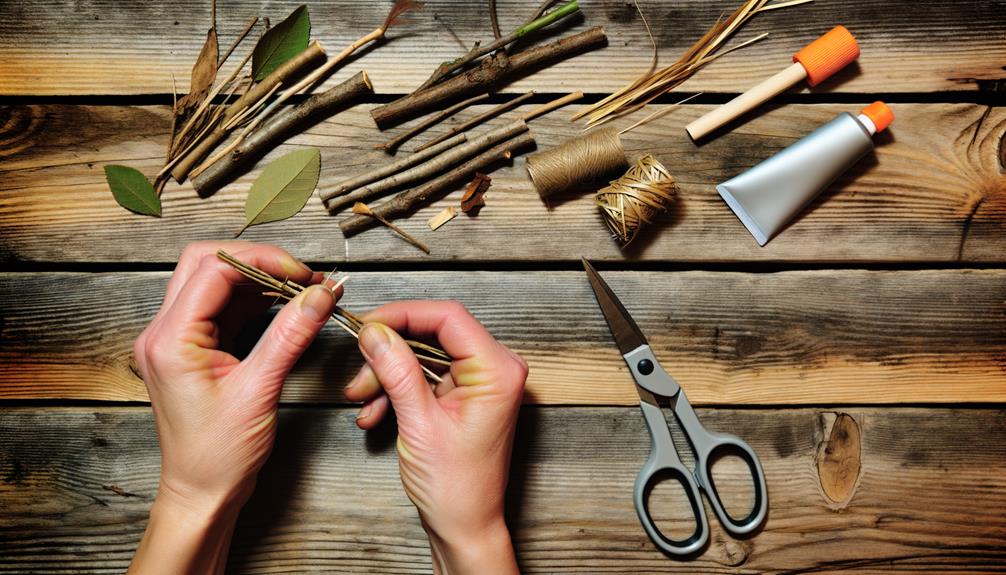
To begin constructing artificial sparrow nests, you'll need to gather specific materials, making sure each one meets the necessary quality and durability standards.
First, choose weather-resistant wood, like cedar or pine, as these offer longevity and protection from the elements. You'll need untreated wood to avoid harmful chemicals.
Opt for screws or nails made of stainless steel or galvanized metal to prevent rusting. Additionally, secure breathable, non-toxic materials for the interior lining, such as natural fibers or untreated straw. These materials provide comfort and insulation for sparrows.
Choosing the Right Location
When selecting the best site for your artificial sparrow nests, consider locations that offer both protection from harsh weather and closeness to food sources. Analyze local wind patterns and rainfall to identify sheltered areas, like under eaves or within dense foliage.
Evidence shows that sparrows prefer nesting spots near consistent food sources, such as gardens or feeders. Ensure the location is elevated, typically between 6 to 10 feet above ground, to protect from predators. Observe the sunlight exposure; partial shade is ideal as it prevents overheating.
Data indicates sparrows thrive in human-populated areas, so urban or suburban settings can be ideal. You'll be providing a safe, nurturing environment that supports their natural behaviors and lifecycle.
Measuring and Cutting Wood
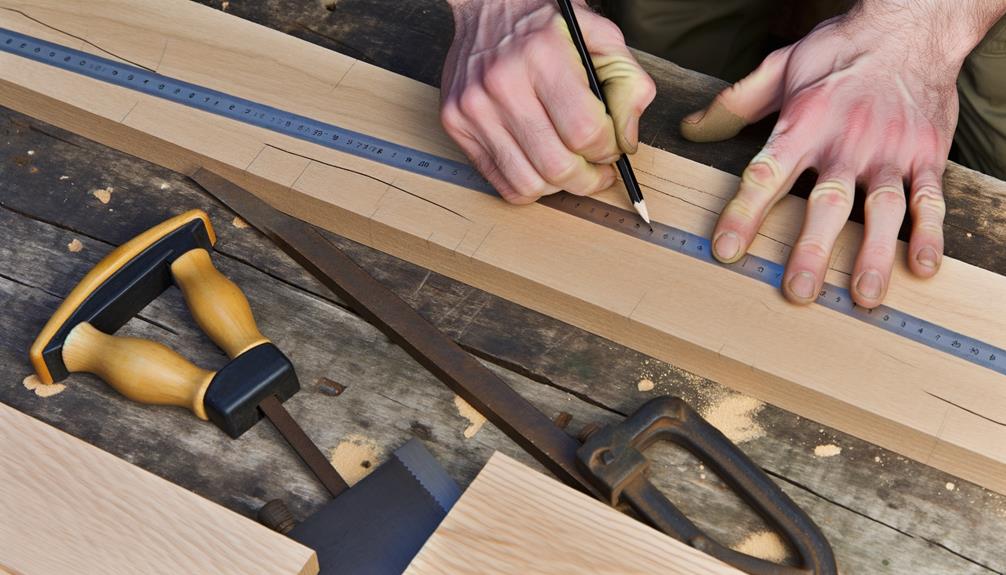
Start by selecting durable, untreated wood types like cedar or pine, as these resist weathering and pests.
Use precise marking techniques such as a combination square and pencil to secure accurate cuts.
Consistency in your measurements guarantees each piece will fit together seamlessly, enhancing the nest's structural integrity.
Choosing Wood Types
Selecting the right type of wood for artificial sparrow nests involves considering durability, ease of cutting, and environmental impact. You'll want wood that can withstand weather conditions without harmful chemicals. Pine and cedar are excellent choices due to their natural resistance to decay and pests. Additionally, they're relatively simple to cut, making your project smoother.
| Wood Type | Key Characteristics |
|---|---|
| Pine | Durable, easy to cut, affordable |
| Cedar | Rot-resistant, natural pest deterrent |
| Plywood | Economical, but may contain formaldehyde |
| Oak | Very durable, harder to cut |
| Redwood | Weather-resistant, more expensive |
Choose wood that is untreated and sustainably sourced. This guarantees both the longevity of the nest and safety for sparrows. Prioritize environmental considerations to serve both wildlife and nature conscientiously.
Accurate Marking Techniques
Accurate marking techniques are essential for guaranteeing your artificial sparrow nests fit together perfectly and provide a safe, secure environment for the birds. Start by using a reliable tape measure and a sharp pencil. Measure twice, cut once—this minimizes error.
Mark your wood with precision, guaranteeing lines are straight and measurements exact. Utilize a carpenter's square to maintain right angles, which enhances structural integrity. When cutting, a fine-toothed saw guarantees clean edges. Evidence shows that precise cuts reduce gaps and potential hazards for sparrows.
Always double-check measurements against your blueprints. By adhering to these evidence-based techniques, you'll create a well-constructed nest that serves your local sparrow population effectively.
Assembling the Nest Box
To put together the nest box, first gather your pre-cut wooden panels, making sure they're free of any defects or splinters.
Align the panels carefully, starting with the base and sides. Use wood glue to secure the joints, and clamp them tightly to ensure proper adhesion.
After the glue has set, reinforce the joints with galvanized nails or screws, spaced evenly for best strength. Pay attention to the angles, ensuring a snug fit to prevent gaps.
Precision is vital to maintain the structural integrity of the nest box. Once assembled, inspect all connections for stability.
This methodical approach guarantees a safe and durable habitat for sparrows, reflecting your dedication to serving these avian companions effectively.
Adding Ventilation Holes
You need to incorporate ventilation holes to guarantee proper airflow within the nest box, which is essential for maintaining best temperature and humidity levels.
Placing these holes near the top of the box will maximize air circulation while minimizing exposure to the elements.
Research indicates that sufficient ventilation greatly decreases the risk of overheating, helping to create a safer environment for the sparrows.
Importance of Airflow
Promoting proper airflow by incorporating ventilation holes in artificial sparrow nests is crucial to maintaining an optimal microclimate for the birds. Sufficient ventilation regulates temperature and humidity, averting overheating and mold proliferation, which can negatively impact sparrows' well-being. Studies show that nests with adequate airflow improve chick survival rates and overall health.
| Feature | Benefit |
|---|---|
| Temperature Control | Prevents excessive heat |
| Humidity Regulation | Reduces mold formation |
| Oxygen Circulation | Ensures sufficient oxygen supply |
| Waste Gas Removal | Eliminates detrimental gases |
| Enhanced Survival | Enhances chick mortality rates |
Ideal Hole Placement
Strategically situating multiple ventilation holes on the sides and top of artificial sparrow nests guarantees perfect airflow and contributes to a healthier nesting environment.
Position two to four holes, about 1/4 inch in diameter, on the upper side walls and one on the top. This arrangement ensures ideal air circulation, reducing moisture buildup and promoting temperature regulation. Studies indicate that proper ventilation minimizes respiratory issues in nestlings and deters mold growth.
Make sure the holes are smooth-edged to avoid injury to the sparrows. By carefully adding these ventilation points, you'll create a safer, more comfortable space for sparrows to thrive.
Your attentive design can significantly affect their wellbeing, showcasing your commitment to serving these small, yet essential, members of our ecosystem.
Preventing Overheating Risks
Properly positioned ventilation holes are crucial for preventing overheating risks in artificial sparrow nests, as they facilitate adequate airflow and help maintain ideal temperature conditions.
To achieve the best ventilation, follow these guidelines:
- Size: Use holes with diameters of 0.5 to 1 centimeter. This size allows sufficient air passage without compromising the nest's integrity.
- Placement: Space holes along the sides and top of the nest to guarantee even air distribution. Avoid placing them directly in the nesting chamber.
- Quantity: Incorporate 4-6 evenly spaced holes. Too few won't provide enough airflow, while too many might weaken the structure.
- Material: Ensure the material around the holes is smooth to prevent sparrows from injuring themselves.
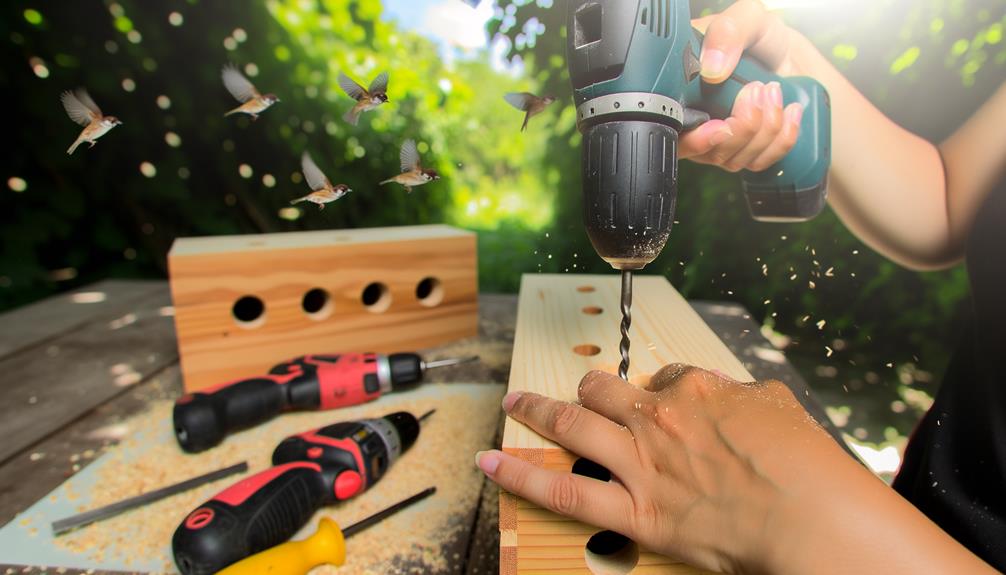
Creating the Entrance Hole
To create the entrance hole, measure and mark a precise 1.5-inch diameter circle at the designated height on the front panel of the nest box. Use a compass or a template to ensure precision. This size is ideal for sparrows, providing easy access while deterring larger birds.
Once marked, carefully drill the hole using a hole saw attachment. Maintain steady pressure to avoid splintering the wood. After drilling, sand the edges of the hole to remove any rough spots, preventing injury to the birds.
Research indicates that a smooth, correctly-sized entrance minimizes stress for nesting sparrows. This attention to detail enhances the birds' comfort, promoting their well-being and supporting your goal of fostering a nurturing environment.
Installing a Predator Guard
When installing a predator guard, you'll need to select materials that are durable and weather-resistant. Position the guard correctly to guarantee it effectively deters predators while not obstructing the sparrows' entrance.
Secure the guard firmly using reliable fasteners to maintain stability and longevity.
Choosing Guard Materials
Choosing the right materials for a predator guard is essential to ensuring the safety and longevity of your artificial sparrow nests. You need to contemplate materials that deter predators while not harming the birds.
Here's an evidence-based approach for selecting materials:
- Galvanized Steel: Highly durable and resistant to rust, making it a long-lasting choice.
- PVC Pipe: Lightweight and smooth, which prevents predators from climbing.
- Tree Wraps: Made from flexible, non-abrasive materials that protect both the tree and the nest.
- Hardware Cloth: This mesh material is small enough to keep out predators but allows sparrows to enter.
Proper Guard Placement
How can you verify that your predator guard is both effective and properly installed?
First, measure the entrance hole; it should be small enough to exclude larger predators but accessible for sparrows.
Position the guard at least 6 inches below the nest box to prevent predators from reaching inside.
Use baffles or metal cones, proven to deter climbing animals.
Confirm there are no gaps larger than 1/4 inch between the guard and the nesting box; even small gaps can compromise the protection.
Validate the guard's placement by observing for any signs of tampering or attempted breaches.
Regularly inspect and adjust as necessary.
Securing the Guard
Fastening the predator guard securely is crucial to maintain its stability and functionality throughout the nesting season. Here's a step-by-step guide to make sure you do it correctly:
- Select Durable Materials: Use galvanized steel or PVC to withstand weather and predators.
- Attach Firmly: Secure the guard using screws or bolts, making certain there are no loose parts that could be dislodged by animals.
- Check Alignment: Verify the guard is aligned with the nest entrance, providing an effective barrier.
- Regular Inspections: Periodically examine the guard for wear and tear, and make necessary adjustments.
Painting and Finishing
Applying a non-toxic, weather-resistant paint to the exterior of the artificial sparrow nest guarantees durability and protection against the elements. You should select a paint that's specifically labeled as non-toxic to guarantee the safety of the birds.
Begin by sanding the surface of the nest box to create a smooth, even texture; this enhances paint adhesion. Apply a primer coat to seal the wood and prevent moisture absorption.
Following the primer, use a high-quality, weather-resistant paint, applying two thin coats for best coverage. Allow each coat to dry completely, following the manufacturer's recommended drying times.
This method not only prolongs the lifespan of the nest box but also ensures it withstands varying weather conditions, consequently providing a safe haven for sparrows.
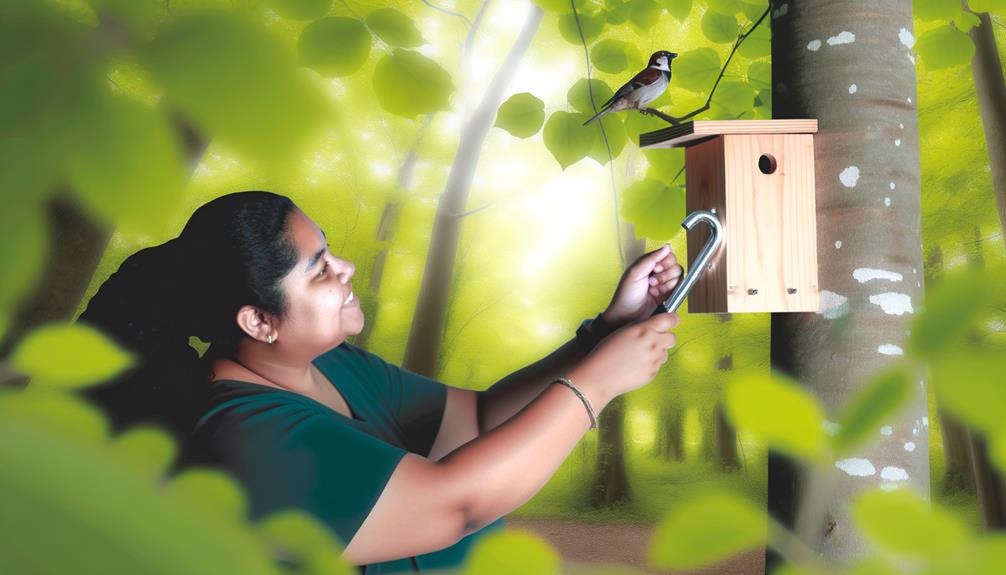
Mounting the Nest Box
When mounting the nest box, place it at least six feet above the ground to minimize predation risks and maximize the safety of the sparrows. This height deters common predators such as cats and raccoons. Secure that the entrance hole faces away from prevailing winds to protect the nest from harsh weather.
Follow these steps for best placement:
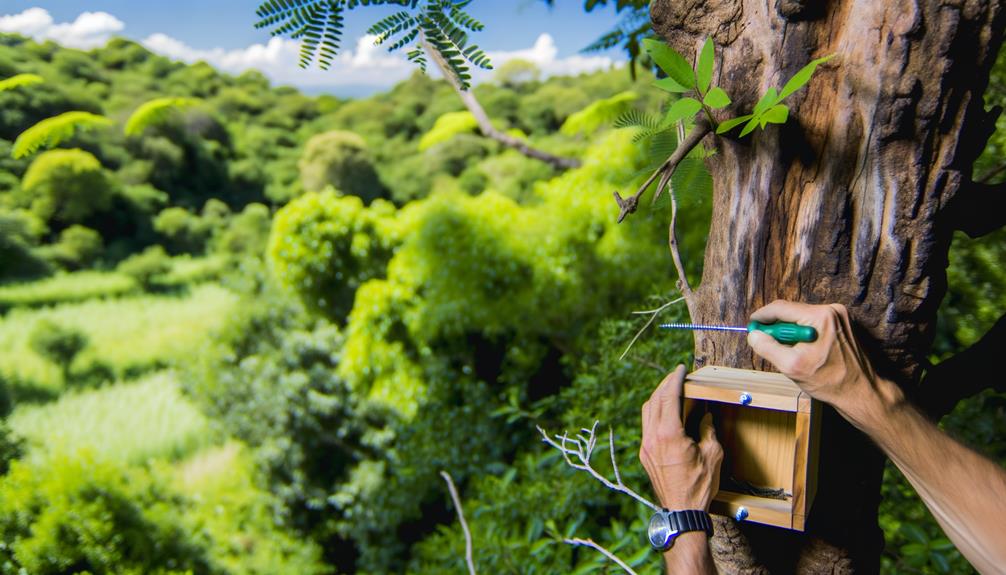
- Select a location: Choose a tranquil area with minimal human activity.
- Mount securely: Use screws or brackets to affix the box firmly to a tree or building.
- Check alignment: Ensure the box is even to prevent eggs from rolling.
- Maintain clearance: Verify there's no vegetation obstructing the entrance.
These measures promote a safe, inviting environment for sparrows to thrive.
Monitoring the Nest
Regularly monitoring the nest is crucial for safeguarding the health and safety of the sparrows. You should observe the nest weekly, using binoculars to minimize disturbance. Note any signs of predation, such as damaged nest material or missing eggs.
Document the number of eggs or hatchlings and their development stages. Look for indicators of illness, like lethargy or unusual feather condition. Verify the nest box remains secure and undamaged. Record temperature and humidity levels, as extreme conditions can impact sparrow survival.
Providing evidence-based observations will help you make informed decisions to support the sparrows' well-being. This proactive approach demonstrates your commitment to fostering a healthy environment for these vulnerable birds.
Maintaining the Nest Box

Checking the nest box monthly is crucial for the health and safety of the sparrows. Regular maintenance helps prevent disease and ensures the box is a suitable habitat.
Follow these steps:
- Inspect Monthly: Look for signs of wear, damage, or pest infestations.
- Clean Thoroughly: Remove old nesting material and sanitize the box with a mild bleach solution (1 part bleach to 9 parts water). Rinse well and allow to dry completely.
- Repair Promptly: Mend any cracks or holes to avoid drafts and water ingress.
- Replenish Bedding: Add fresh, dry nesting material like untreated wood shavings or straw.
Conclusion
Coincidentally, as you mount your completed sparrow nest box, you might notice immediate interest from nearby sparrows. This quick engagement underscores the effectiveness of your meticulous efforts.
By following these steps—gathering materials, precise measuring, and ensuring proper ventilation—you've created an ideal habitat. Studies indicate that well-constructed nest boxes greatly enhance local sparrow populations.
So, your dedicated craftsmanship isn't just a hobby; it's a scientific contribution to avian conservation. Keep monitoring and maintaining for continued success.